Multiple Trips over 20 years, latest August 26, 2022
While there are several ways to access the Little Yoho Valley, my favourite is from Takakkaw Falls via Laughing Falls. Many people backpack in via the Iceline, but I save that route for the way out. Why? There’s a long, steep, boring switchback section through the trees, and I’d much prefer to do that heading downhill with an empty pack. Plus, when my 60+ year mountain veteran father-in-law tells me to do the circuit this way, I listen. However, day hikers are probably wise to hike it in reverse, so all the elevation gain is done in the beginning, with a steady decline back to the parking lot.
I was here twice last year, leading a Summer and Winter Camp for the Rocky Mountain Section of the Alpine Club of Canada. The photos used will be a mix of all my trips over the years. The photos will also be showing a lot more people! I usually just post scenery, but this is a VERY special place to me and my family, so there’s lots of people shots.
Gear
Day Hikers: Hiking boots, poles and regular day pack kit.
Hut Users: I bring food, clothes, gear, and a sleeping bag. Everything else is provided at the hut (sleeping pad, cooking utensils, stove, gas). Depending on my mountain goals and required gear, I can get away with a 30 litre pack for a 3 – 4 day trip.
Backpackers: I bring my 65 litre pack, and my full backpack kit for camping at the Little Yoho Valley Campground. There are bear bins provided, plus bear poles. There’s a separate eating area away from the tents. There’s an outhouse at the campground.
Overview
At the Takakkaw Falls parking lot, park in the furthest loop. Hike past the Takakkaw Falls Campground, and continue on to Laughing Falls Campground. Take the left fork for Little Yoho Valley. Continue on trail, going straight at the Whaleback junction. After 3 km, the Stanley Mitchell Hut is on the right, or continue straight past to the Little Yoho Campground.
Hike into Little Yoho Valley Video
Totals – Downloadable Tracks on Gaia, Displayed on Strava
Date: August 26, 2022
Group: 18 (ACC Camp, but mainly my family of 4)
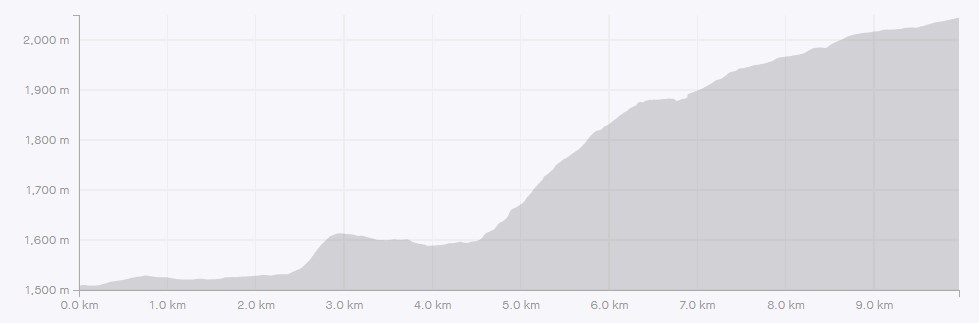
Distance: 11 km
Elevation: 560 m (1,848′)
Time: 3 hours 10 minutes (includes snacks & breaks) 4 hours with little kids.

Parking and Trail Head
The Takakkaw Falls parking lot is always busy in the summer with day trippers coming to see the falls. The furthest loop of the parking lot is reserved for backpackers, but this is not enforced. Arrive early, or come later and wait a bit for someone to leave. I’ve had to park in the main lot, with no issues.
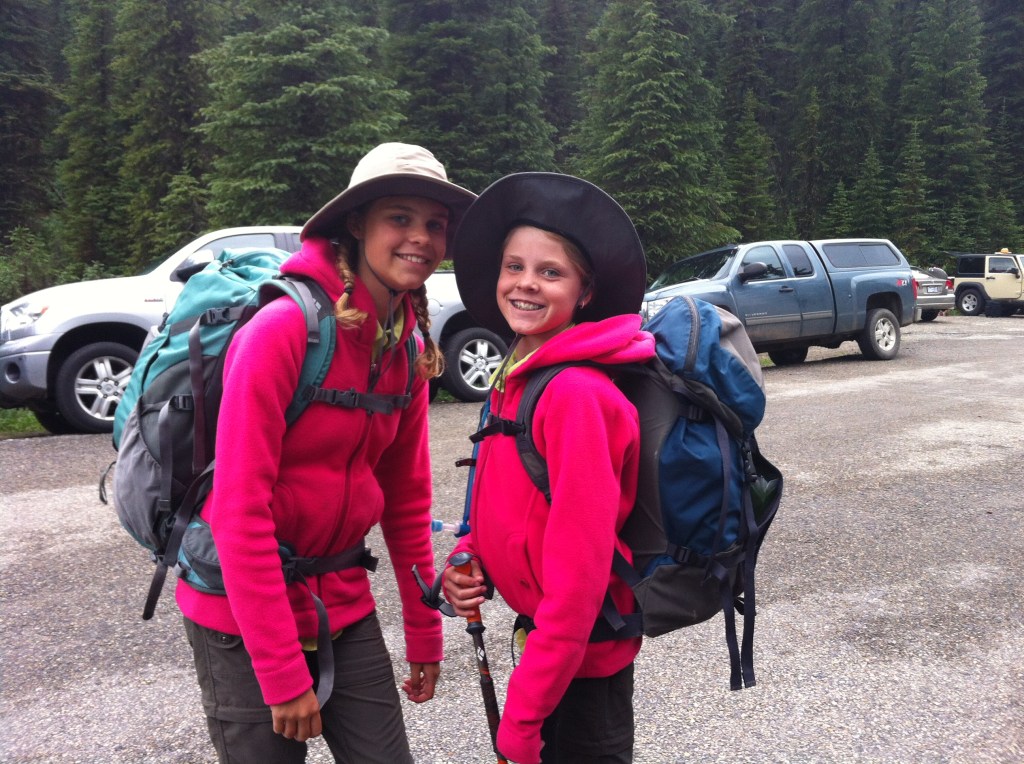
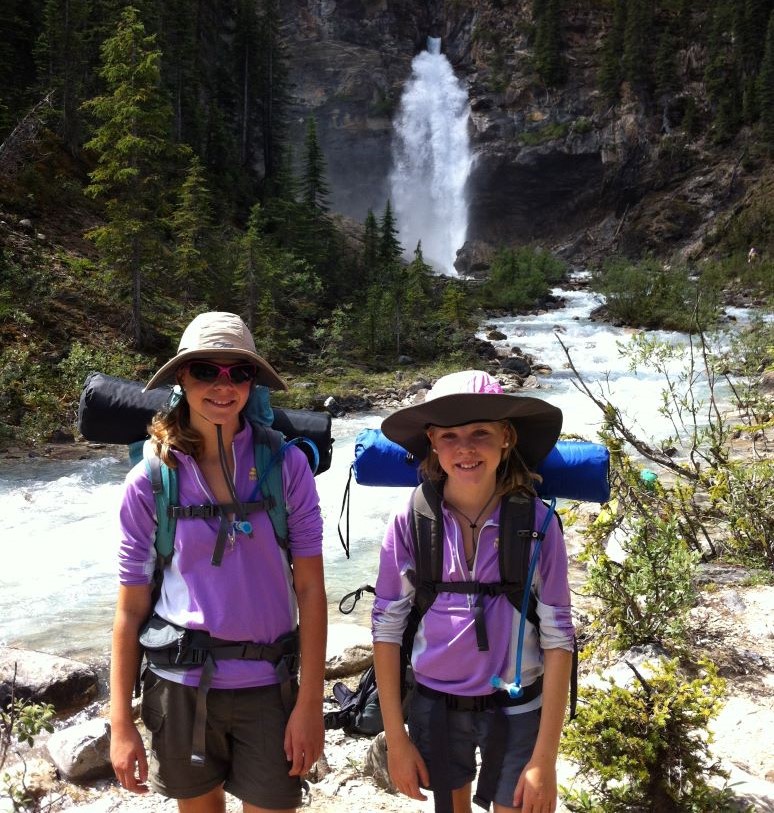
Mackenzie and Kayla are ready to head out on a Mom Adventure. They are 12 years old, and this is our first solo Mom and Daughter trip. Hilarity Ensued.
There are outhouses nearby, but are tricky to find as they are hidden in a clump of trees. Instead, I hike 1 km to the Takakkaw Campground, and take care of business there.
From the furthest end of the furthest parking lot, the trail begins. This is a wide, graveled path that leads to the Takakkaw Falls campground. Right on the trail is a large cook shelter and a big outhouse building.
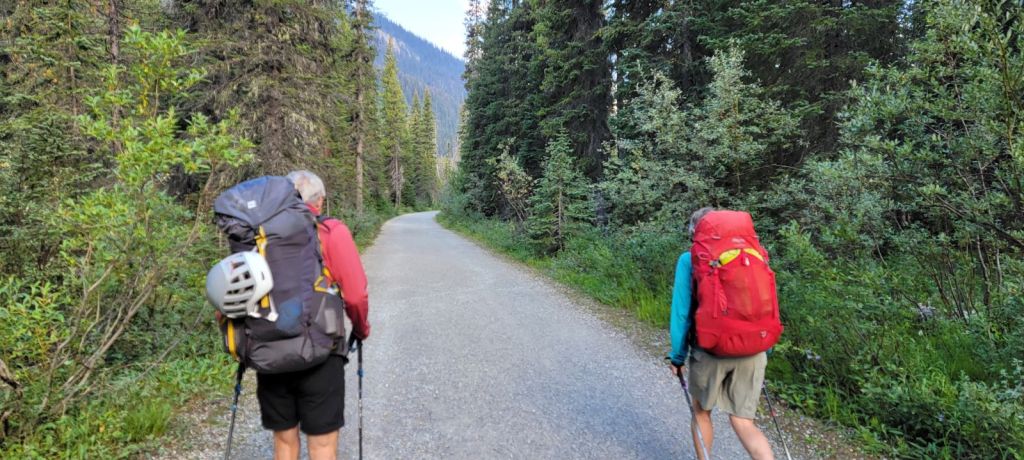
Main Trail
From the campground, we crossed the various streams that outflow from the Iceline Trail, far above us.


After the washout, it’s another 4 km to Laughing Falls. This trail is mainly flat as it follows the Yoho River, but there’s one steep bit right before the falls.
Laughing Falls are always nice. There are several other falls in this area, but I’ll admit to not exploring as I’m usually on a mission to get to the hut. One year, when I’m too old to climb I’ll visit the lower falls.
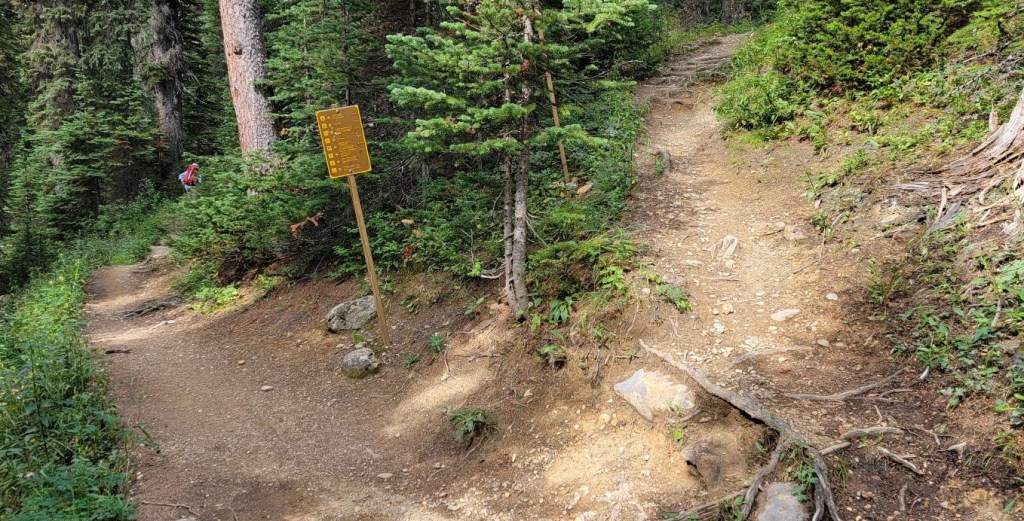
The trail past Laughing Falls is braided. There’s a campground here as well, so we had to hunt around a bit. Basically, stay high and left.
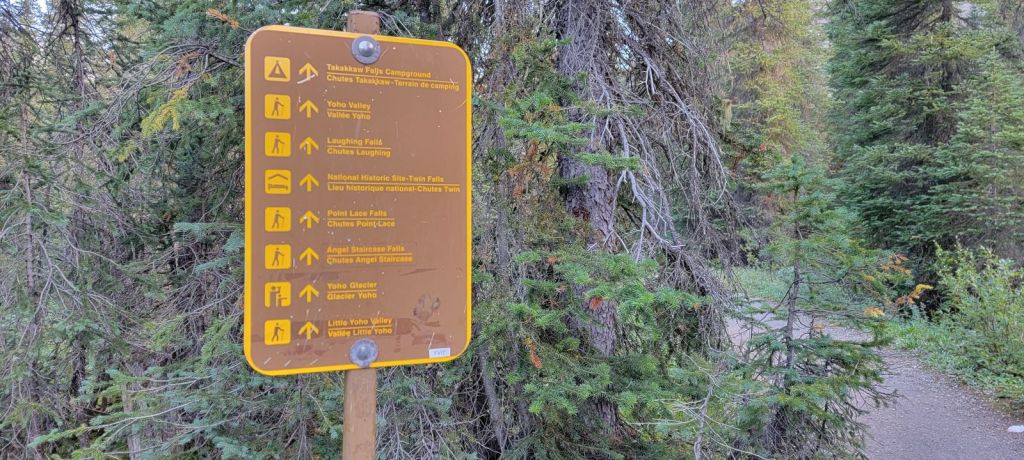
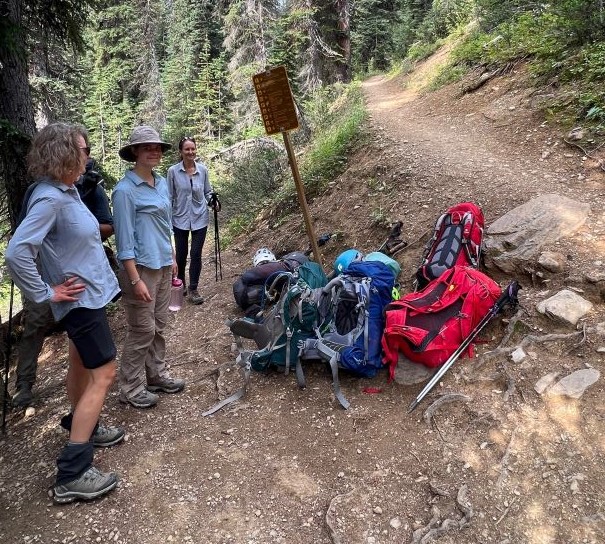
This is also the main intersection, with a confusing sign. Go left for Little Yoho Valley, and Straight for Twin Falls.

The first time I was here, the direction sign for Little Yoho also included “Parking”. This made it sound like the trail doubled back on itself to the parking lot. Of all the groups that day, we were the only ones who went left (ONLY because Mike had been here so many times). All the other backpackers went straight to Twin Falls, then climbed all THAT elevation up and over the Whaleback. While Mike and I had a leisurely day, set up camp, summited Mt Kerr, and returned to our campsite to lounge, while the rest of the groups were just arriving around 5:00 pm.
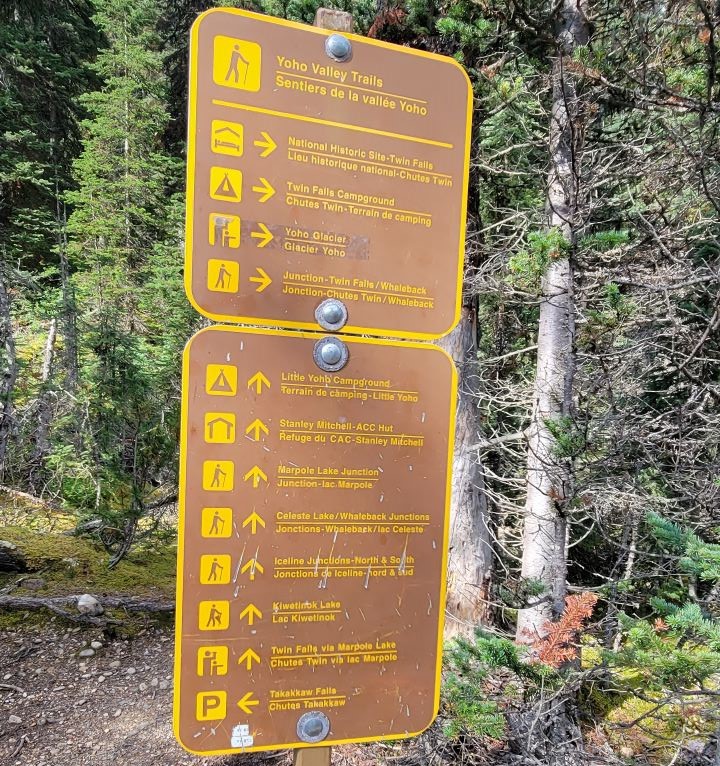
Twin Falls: two options on sign, which is confusing. Both lead to the base of Twin Falls, with the second option going past a lake on the way to the falls. Same amount of elevation gain, just in different ways.
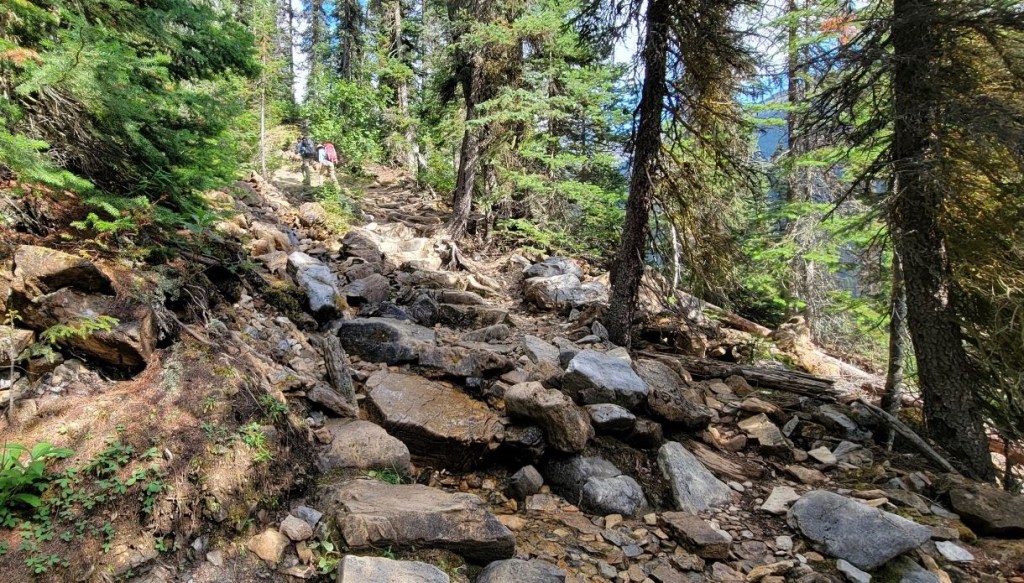
Once on the correct trail, the major elevation starts. This steep section is about 2 km in distance, after which the trail levels out for a more gradual incline to Little Yoho. The trail is now more narrow, but well maintained with steps and lots of switchbacks.
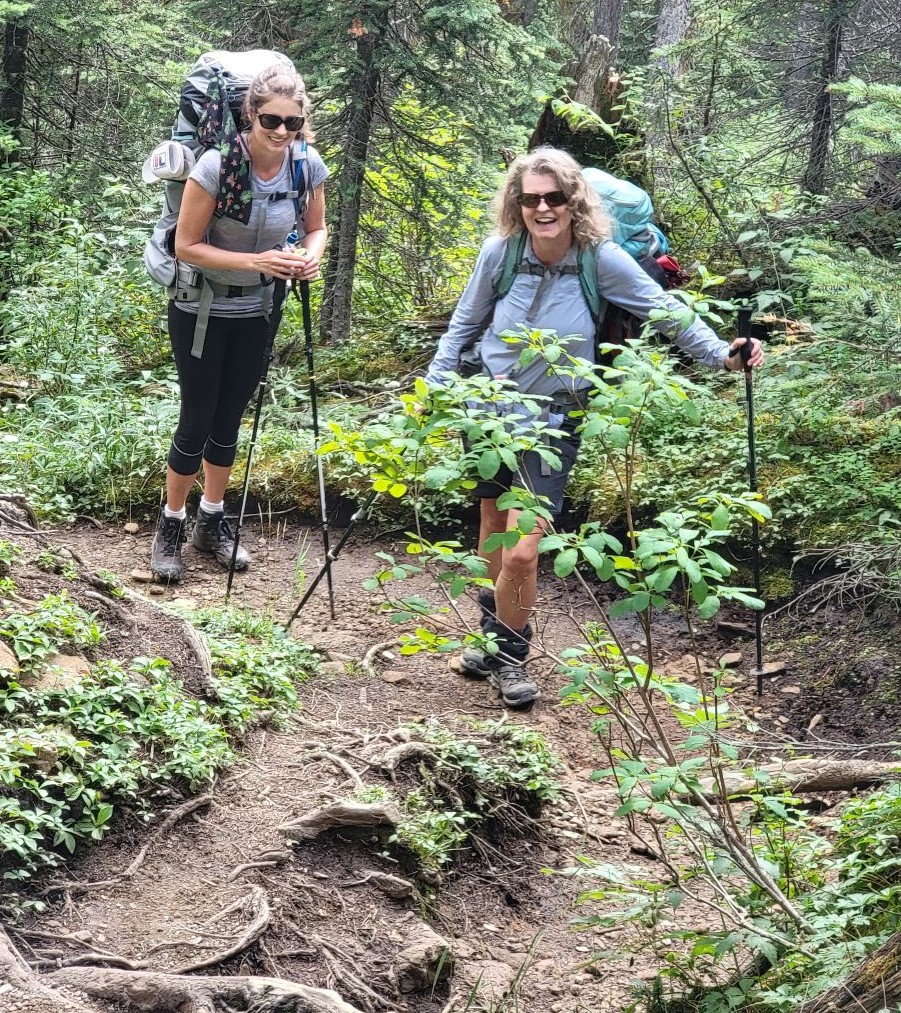
Once the elevation backs off, the trail is narrow through the forest. The Whaleback intersection means you’re close, with only another 3 km to go.

About 20 metres past the Whaleback intersection is the Celeste Lake turn off. We decided to wait here for the group. We hiked down to the bridge to cool off and fool around a bit.


Normally the trail stays well to the north of the Little Yoho River, but there was one massive avalanche in the past few years that took down the mature forest. This forced the trail to leg south to avoid. I was eyeing up this slope for skiing that following winter, but it turns out we found a better way to access that slope.

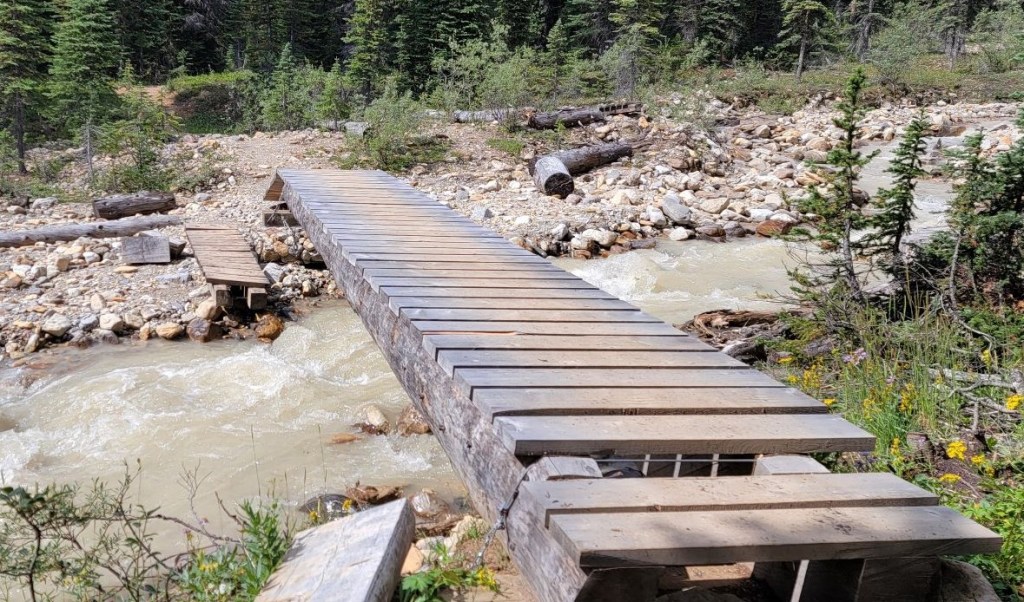
We knew we were close when we crossed the final bridge, about 500 m away from the Stanley Mitchell Hut. It’s another one km or so to the Campground.

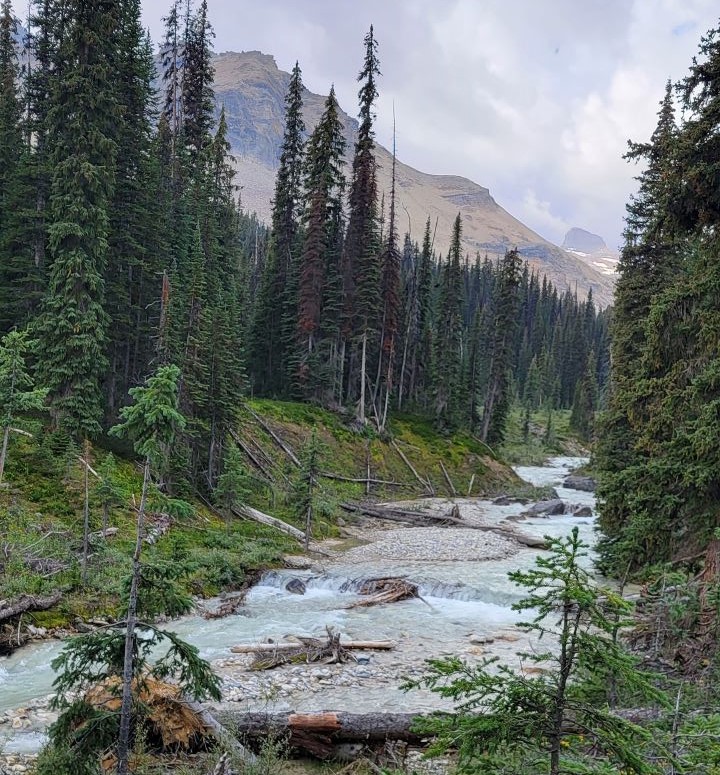
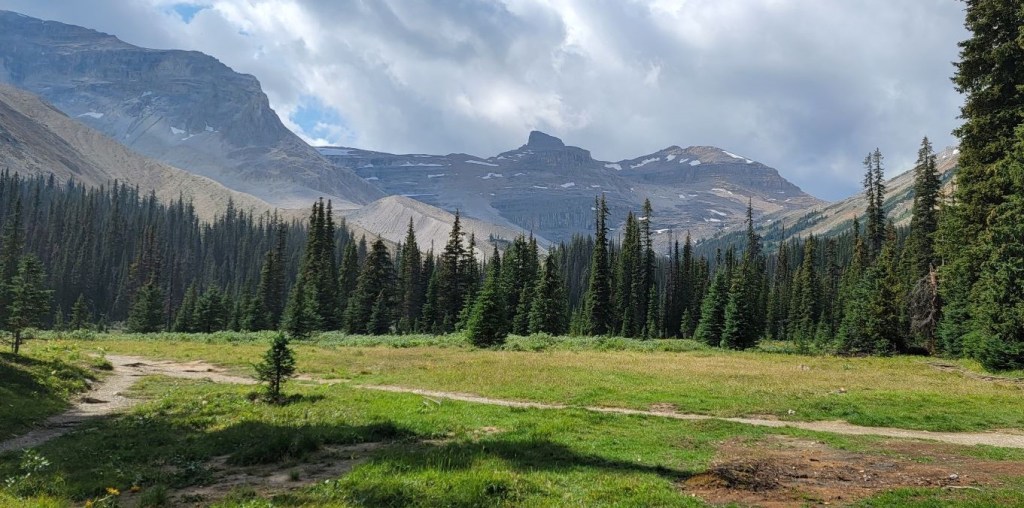
The Stanley Mitchell Hut is located in a beautiful meadow, with views of the President range and beyond from the front door.

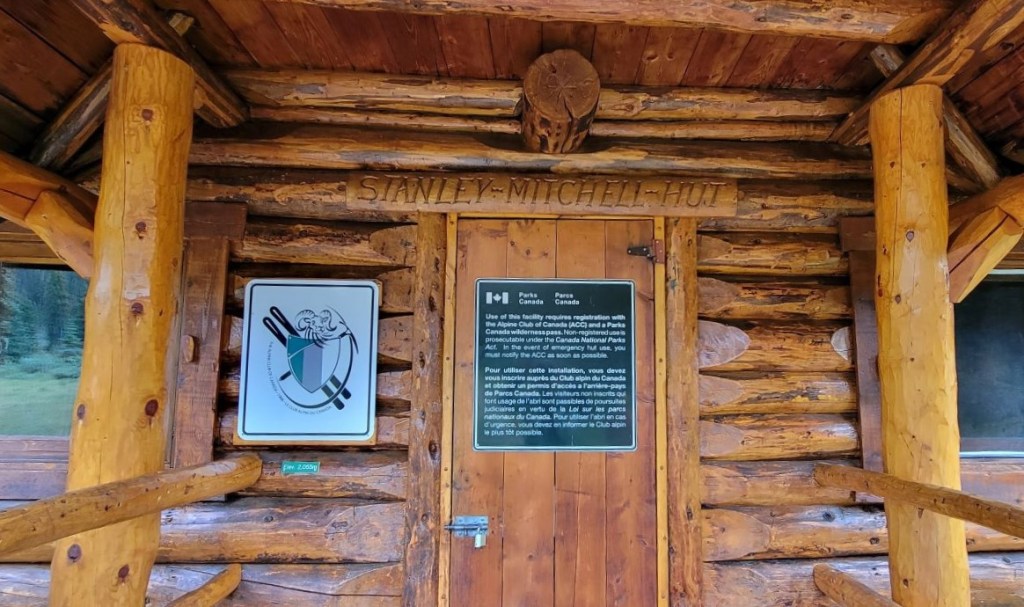
The Stanley Mitchell Hut
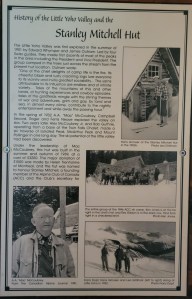
This is a historic cabin built by the Alpine Club of Canada in 1939. The hut has two storyboards with details on the early years of exploring the area, including the early ski guiding by Hans Gmoser, my father-in-law Franz Dopf, and Leo Grillmair.

The main floor of the hut has a living and eating area with a big wood stove. The kitchen is separated by a thick door. There are two sleeping areas – a small room off the living room, and the main sleeping area on the second floor, up the steep, ladder stairs.
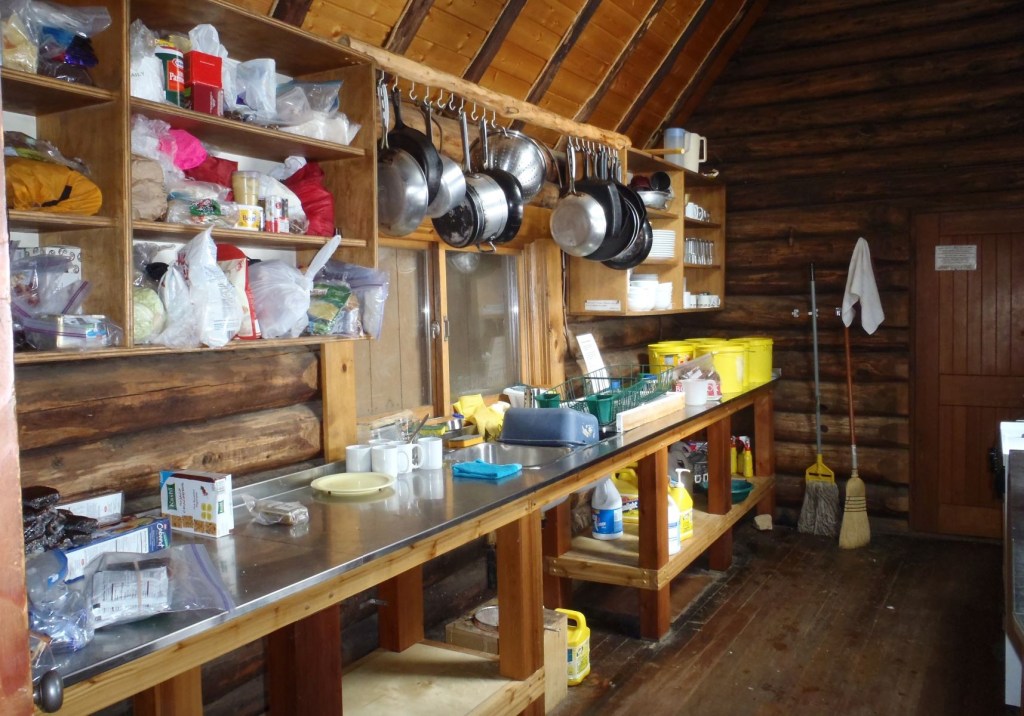

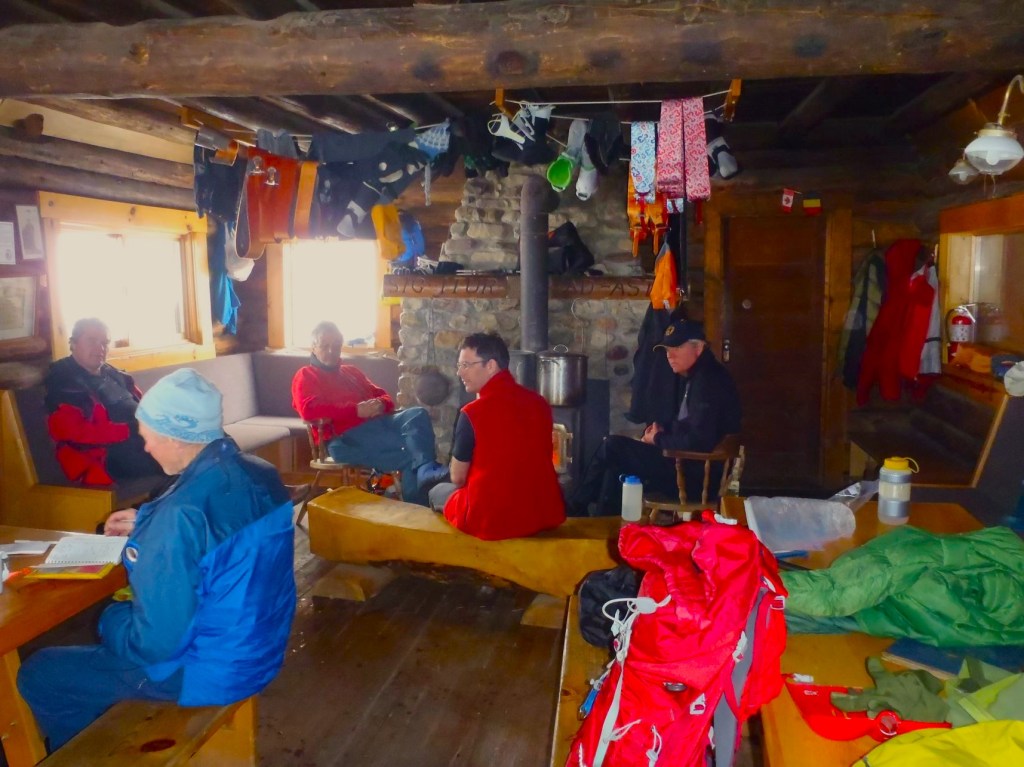
The seating area to the left of the fireplace is now gone, which removed some storage area as well. Unfortunate… There is also a new wood stove. You can see we are heating water on this stove but the new one is pushed back into the fireplace opening, so no way to heat water anymore. The door to the small sleeping area is on the far right.

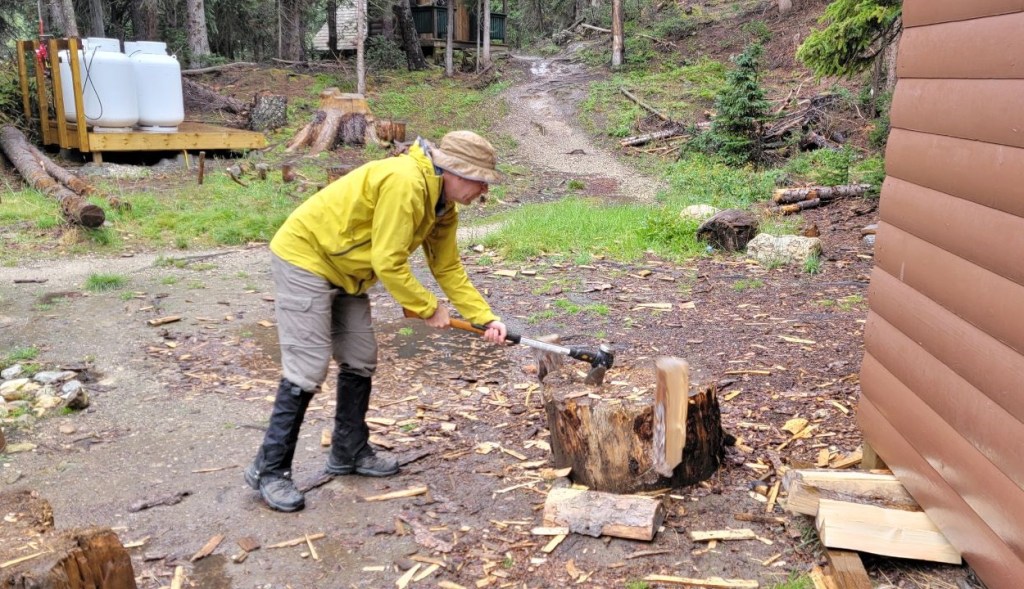
There are plenty of chores to be done. Wood, Water and Outhouse!
There is a wood shed behind the hut. Not only do you have to fill up the wood inside the hut before you leave, you need to cut more wood to replace what you used, including kindling.

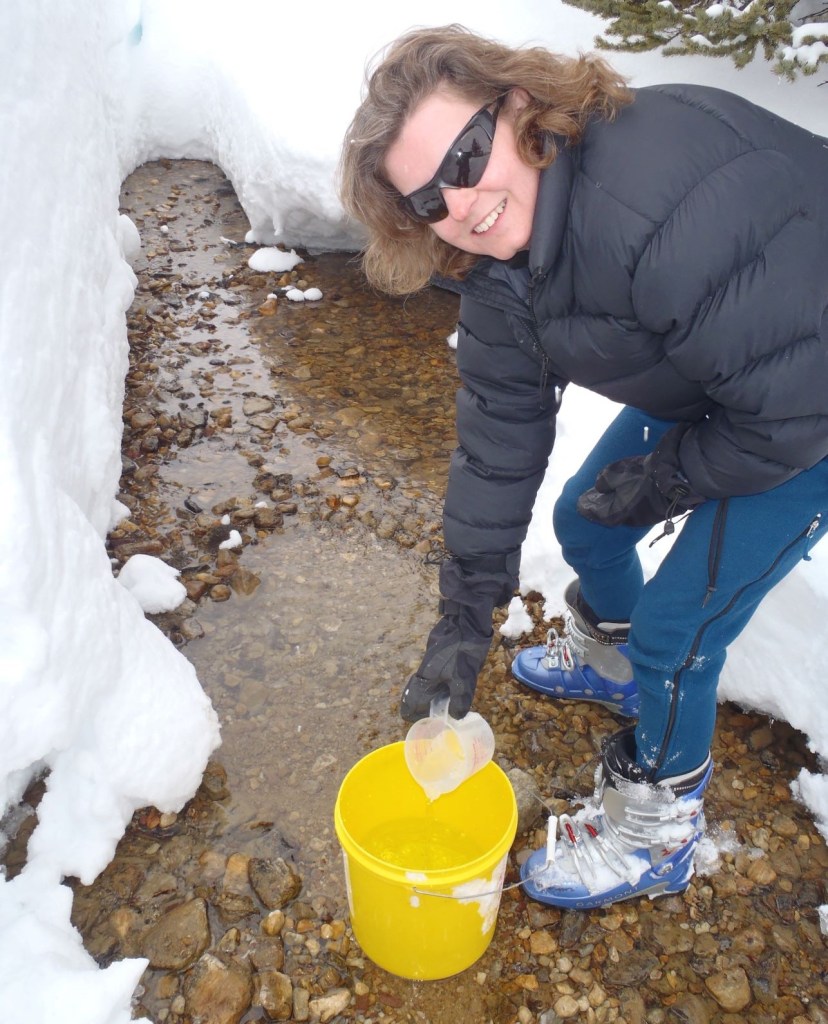
Water is gathered from the small stream, just south of the hut. In the summer, simply dip the yellow buckets at the bridge. In the winter, we have to shovel down to the creek and use a smaller cup to fill up the buckets.

The outhouse is everyone’s favourite chore 🙂 This is a Double Barrel, so keep an eye on the levels of both. When full enough, follow the instructions on the inside of the outhouse to replace the barrel.

Cleaning the hut is essential. No one wants to use a dirty hut, so do your share and keep it clean. Sweep daily. Wash counters and table tops with a mild bleach solution. Wash the dishes thoroughly using hot water and the method described in the kitchen.
Finally, ALWAYS pack out ALL your food. No one will eat it. Ever. If you’ve packed too much, oh well. Take it back out with you. You are more than welcome to leave your extra toilet paper 🙂
Please visit the main Little Yoho Valley page for a list of trips from this location.
Thanks for reading! Please do me a huge favour and click the Star button to “Like” it. You can also follow my blog, join my FaceBook page Al’s Adventurers, or follow me on Instagram
Alisen
I love all things mountains! I live next door to the Canadian Rocky Mountains, however I travel the world to enjoy the many different mountain environments and cultures that I can. I hope you enjoy these trip reports, and that it inspires you to accomplish your own adventure goals.

Haven’t done this hike in a long time and I think the last time was on skis. Nice to revisit it in the summer. Maggie
I’ve skied in twice, but much prefer the longer Bow to Yoho Traverse.
💛
It’s amazing that you’ve done this hike so many times over the years with family and friends. The Stanley Mitchell Hut looks so cozy and comfortable.
If you ever come back to Alberta, this is a worthy day hike for you. If you want to stay at the hut, let me know and I can book you in. It’s NOT private, and you’ll not sleep well, but it will be an experience of a lifetime 🙂
All the more reason for us to return to the Canadian Rockies! I’m all about trying new experiences, especially when it comes to the outdoors.
I’ll add this hike to my list!
It’s definitely a highlight of any trip to the Yoho Valley. Highly recommended, even as a day trip.
I bet! It’s a favourite hike for many people. Let me know if you go, and how it went.