June 8, 2025
After climbing Mount Romulus, I really wanted to nab his twin brother Remus. My first attempt got rained out, with ice at higher elevations. That time, I backpacked in to the base of Romulus to deal with the long approach. This time, I biked the 9 km to the base of Remus.
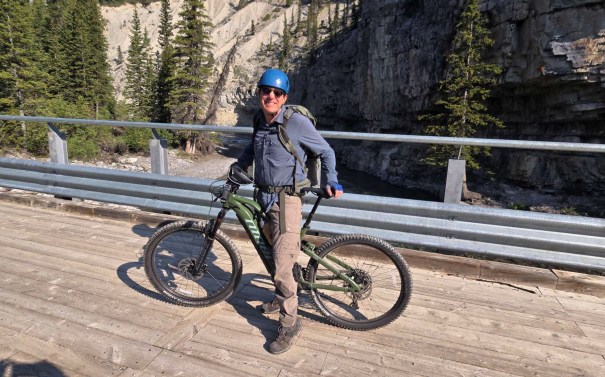
While I am a road cyclist, riding is not my sport. It’s great for my knees and building muscle. I recently bought an e-mountain bike for two reasons. One, long, boring mountain approaches are ideal to knock off using a bike. Two, I travel with a campervan. A long-range ebike means I can leave the van set up, and then roam around on my bike. The ride to Remus was my maiden ebike voyage, and I loved it. My mountain biking skills are non-existent, but I didn’t wipe out, and it allowed me to summit. 100% happy!
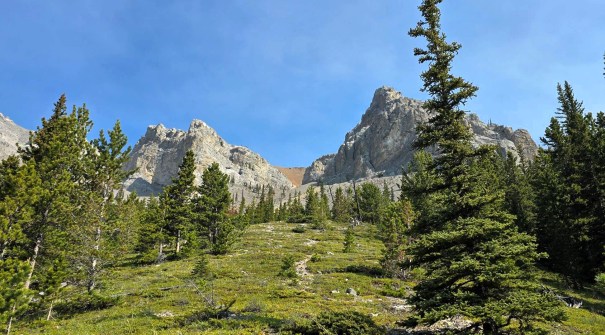
Mount Remus is very pretty to look at. Lovely soft brown scree, and towering walls on either side. Other than the one chimney at the summit, this felt like one long scree grind. I am so glad I summited, because I doubt I could convince myself to come back and try again. Big thanks to my buddy Pete who did it the day before, and gave me excellent beta on the chimneys.
Gear
Hiking boots, poles and regular day pack kit. For the approach, a mountain bike is ideal, or backpack and stay at the Mount Romulus campground. The Hard Cores will simply hike in.
Overview
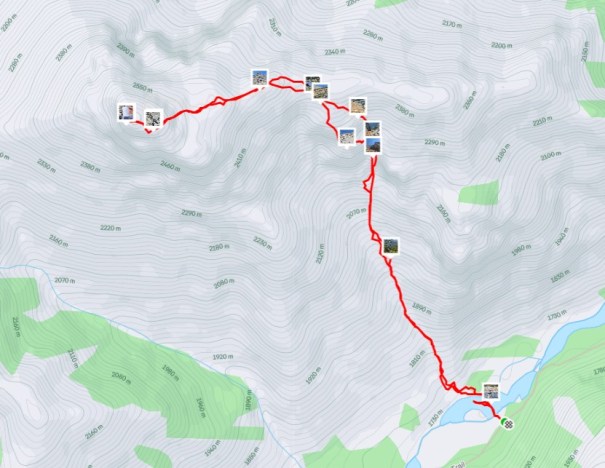
Start at the Little Elbow day use area, and head west on the old road. The Remus trail head is just shy of 9 km. Stash the bike, and head towards Little Elbow River. Cross the river, then hunt around on the gravel bar for a big cairn that marks the start. Go straight up into the trees. Exit the trees into a large scree basin. Hike on up. Follow the terrain as it bends left. From the high point, look across at the towering wall of stone that guards the summit. This wall has a weakness with two chimneys, and we took the climbers left. At the top, hike up to the summit. Return the same way.
Totals – Downloadable Tracks on Gaia, Displayed on Strava
Date: June 8, 2025
Group: Two (Alisen & Mike)
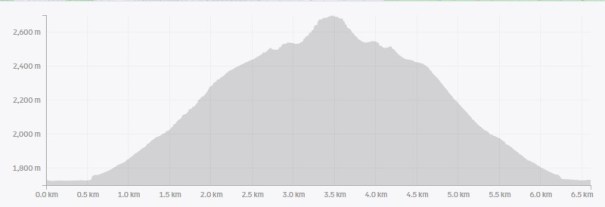
Distance: Bike Ride – 18 km return. Mount Remus – 6.6 km return
Elevation: Bike Ride – 178 m. Mount Remus – 1,029. Total: 1,207 m (3,396′)
Time: Bike – 1 hour. Mount Remus – 6 hours. Bike – 40 min. Total: 7 hours 40 minutes
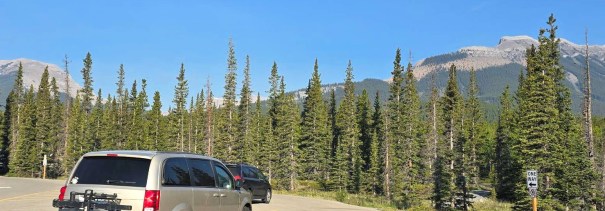
Parking and Trail Head
The closest parking is the Little Elbow Day Use area. We hopped on our new mountain bikes, and cycled past the campground. We passed the road gates, and kept going until we hit the Mount Remus trail head. This is just shy of 9 km. It’s the big opening in the trees, with a clear view up to the mountain. We stashed our bikes in the trees, and transitioned to hiking mode.

Main Trail
We hiked down to the Little Elbow River and found a good spot to cross. We brought water shoes, which were needed in the strong current. Once across, we stashed the shoes, and then hunted around for the route up. We found a big cairn on the gravel bed.


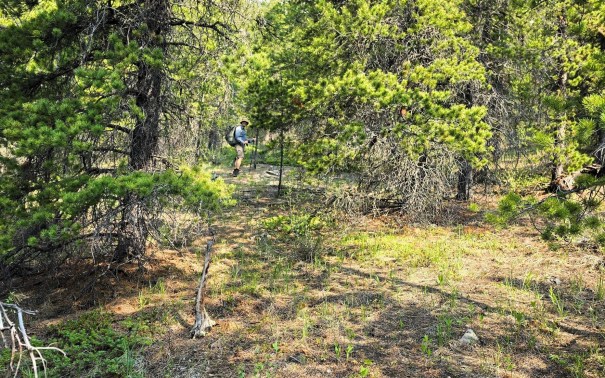
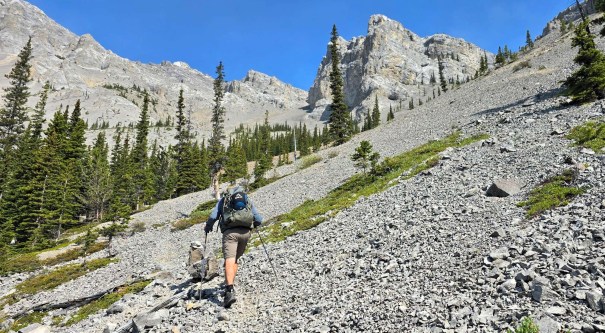
We hiked straight up into the trees. We found a few cairns, as the trail does die out in spots. It reappeared higher up, and stayed until the base of the scree.

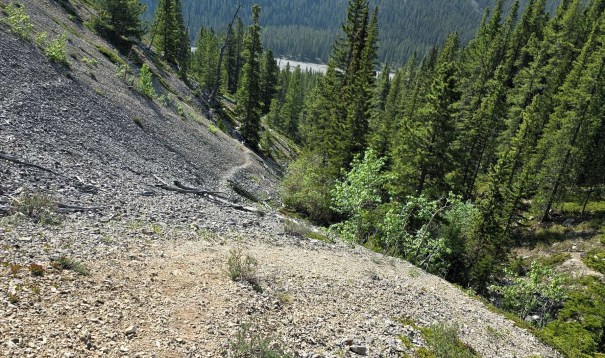

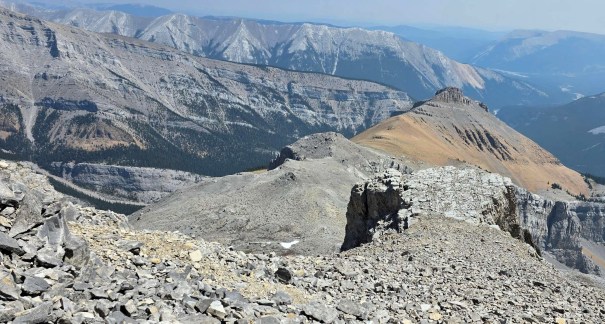
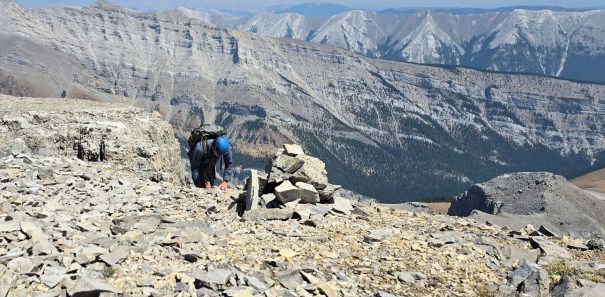
Once on the scree, it was a long grind up. There seemed to be a sweet spot between the bigger grey rocks on the left, and the brown scree in the middle. This narrow band gave enough support to hike without wallowing, and the rocks were small enough to be nice hiking.
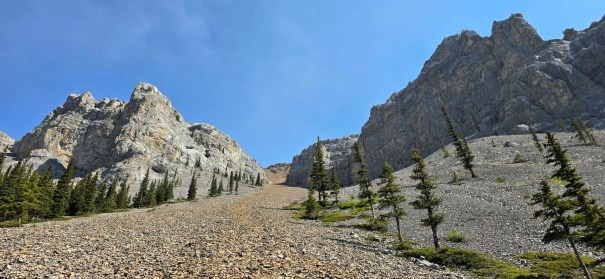
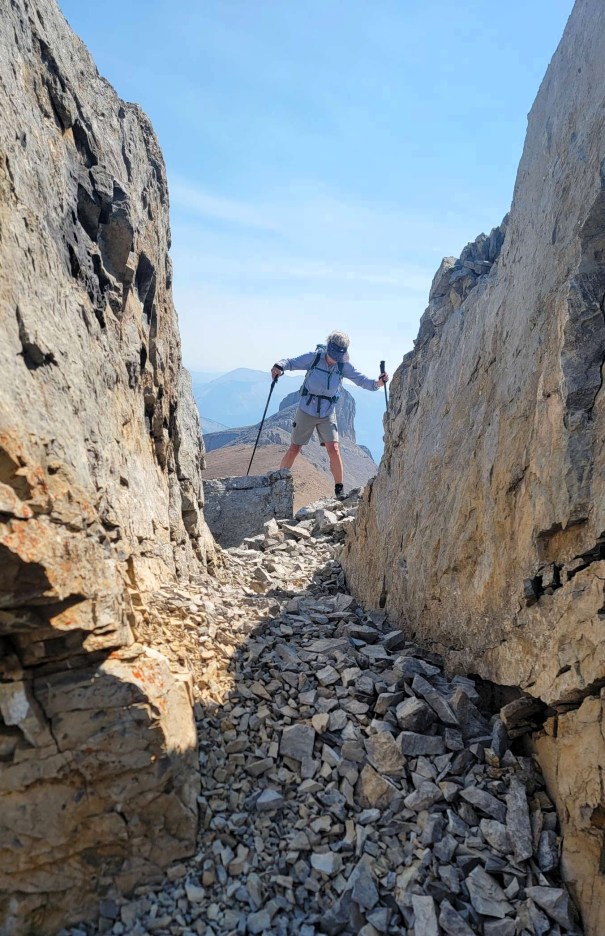
We continued up between the two towers, and through the hourglass. From there, I stayed left, and found a little bit of relief from the scree next to the wall. We eventually took a hard left, and found ourselves on some actual solid rock. Glorious!


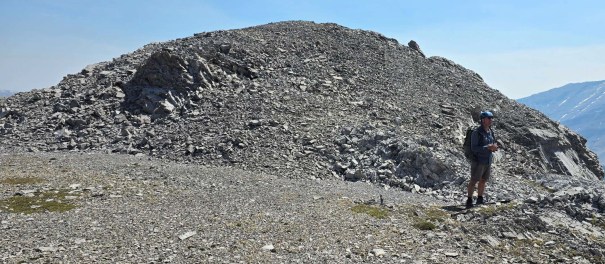
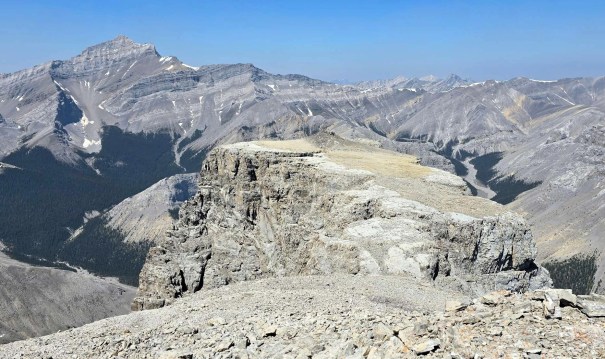
We could finally see the summit block of Mount Remus. Like Romulus, the summit is hidden from view until we were almost there. It’s further back that I thought.
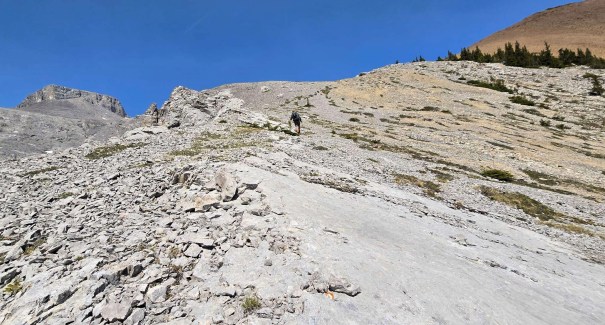
We traversed around to the left, following the terrain. There were some beautiful wildflowers up here, which was a nice break from solid scree. At the first high point, we surveyed the summit block and our route through the rock wall. Then promptly sat down and ate our lunch.


Mount Remus Summit
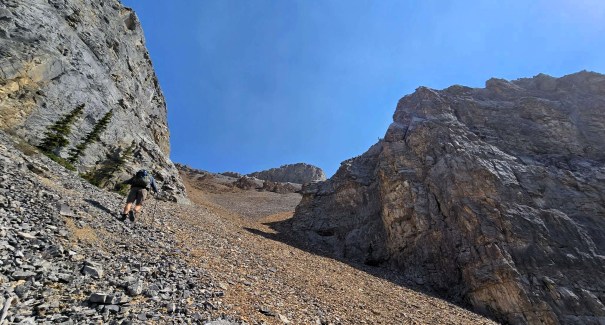
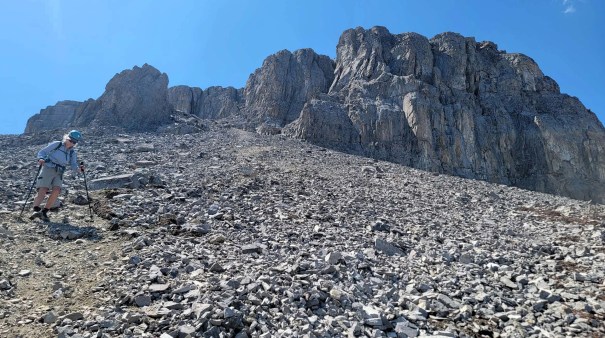
Once fortified, we lost some elevation, just to really underscore the steep slope ahead. This scree pile was beaten in, so a bit more enjoyable. I also found some shade next to the left wall, which was delightful.
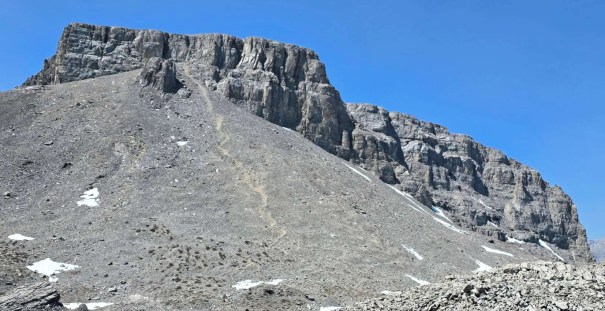
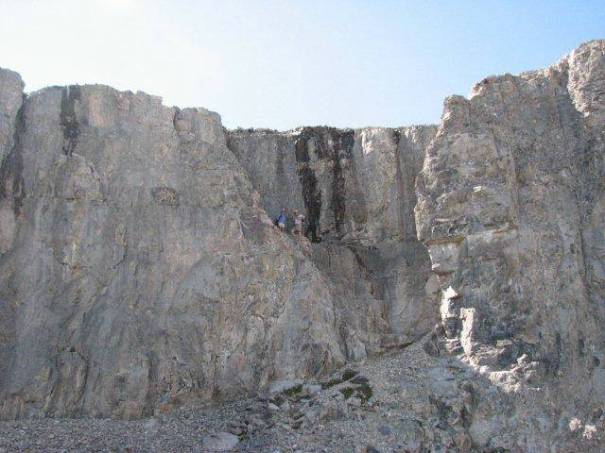
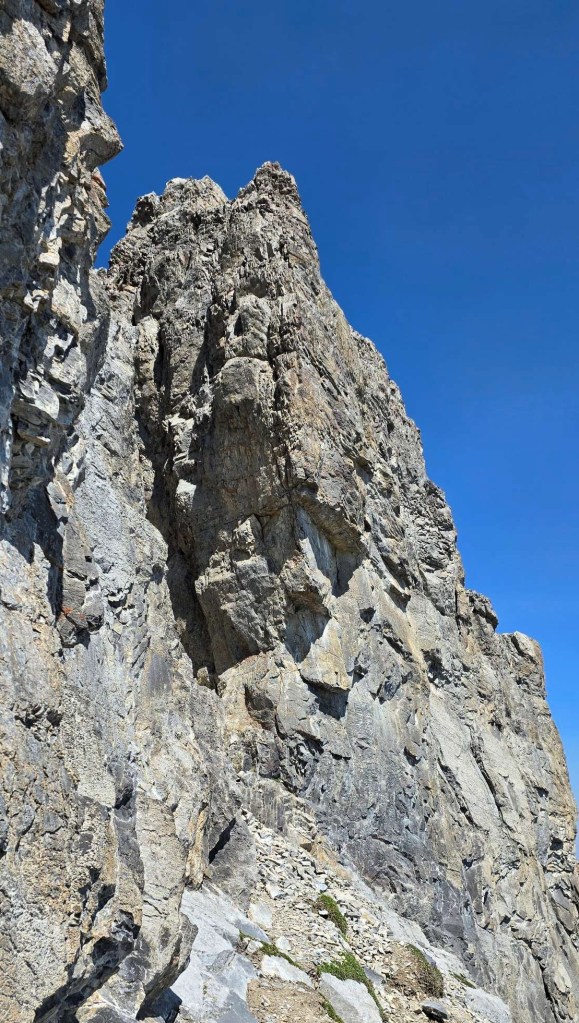
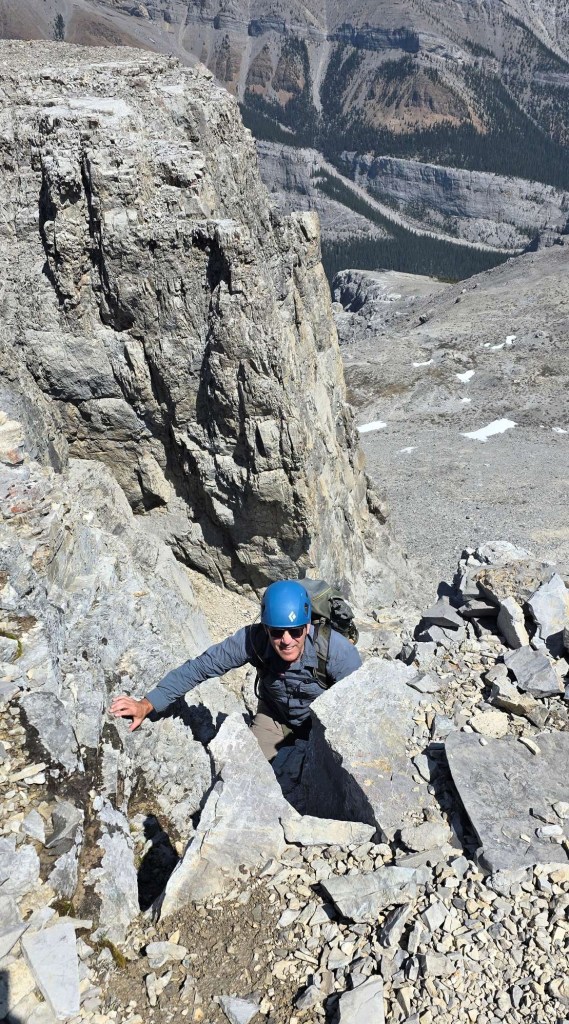
The base of the rock wall looks intimidating. However, there are two ways to ascend: left or right chimney. Pete D from the Alpine Club of Canada had gone the day before. He said the right was full of wet and loose mud/debris. Left was dry and way better. This early in June, the upper elevations were still drying out. I imagine later in the year both would be dry. However, the left chimney was great. We found nice steps that were decently spaced, and we popped out on top in no time.

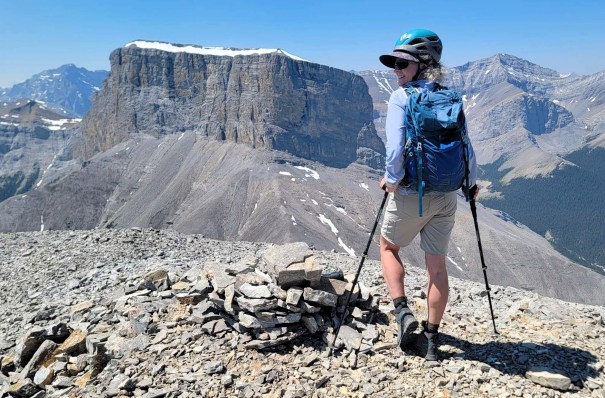
We were now on a relatively flat expanse, and hiked up and over to the actual summit of Mount Remus. From here, we had a fantastic view of Mount Romulus. While we couldn’t summit these mountains back to back as originally planned, I was really happy to finally get this duo done. We also saw the enticing ridge of Mount Fullerton, with the familiar Nihahi Ridge behind that. Across to the south is Mount Glasgow North, with the true Mount Glasgow behind.

Time to summit was 4 hours 45 minutes. This included the bike ride from the trail head, stashing the bikes, and a lunch break.
Total distance from trail head is 12 km, with 1,162 m of elevation gain.
Mount Remus Return
We read that Bob Spirko took a different way up to the summit. We hunted around to find their route for the way down, hoping to make a bit of a loop. Nothing looked good, so decided to retrace our steps back down the chimney. I don’t love down-climbing, but Mike was an excellent coach and the rock didn’t let me down. Nice and solid.
Once back on the scree, we could finally appreciate it. We hiked back down the ridge, to the middle of the brown scree gully. While not quite as good as the Romulus scree descent, it was still a good run out. Once back in the trees, it was a very steep and hot hike out.
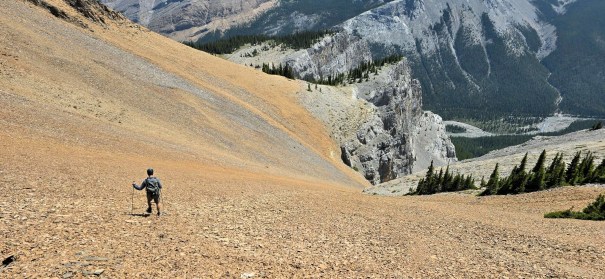
I was SO happy for the river crossing on the way out. I kept my boots on, and just stood in the middle for about 15 minutes. I don’t love the heat, especially so early in the year. I was getting way over-heated, so the cold river was perfect. I took off my hiking shirt and completely soaked it in the river. Putting it back on was scream-inducing, but felt so good.
We hiked back to the bikes, put the bike shorts back on, and headed out. I gotta say – riding out was way nicer than walking. It’s mostly downhill, but there are several steep uphill sections. Prior to the bridge is a very steep downhill with rock slabs. I’m sure this is good fun and no trouble for a seasoned mountain biker, but still gave me pause. I will get better!
Wrap Up
Woot! Woot! Finally completed the Twin Duo – Mounts Romulus and Remus. Both mountains have these distinctive flat summits and were a beacon to me as I looked west from Prairie Mountain. I am so glad I persevered and nabbed them both. Both mountains are further back that I thought, with the summits hidden until the end. While Romulus is longer and higher, Remus is more technical with the chimney section. The approach via backpacking or a mountain bike are both great. I really enjoyed the campground if you have the time.
Thanks for reading! You can follow my blog, join my FaceBook page Al’s Adventurers, or follow me on Instagram
Alisen
I love all things mountains! I live next door to the Canadian Rocky Mountains, however I travel the world to enjoy the many different mountain environments and cultures that I can. I hope you enjoy these trip reports, and that it inspires you to accomplish your own adventure goals.

Glad to hear that the maiden voyage with your e-mountain bike went well. That is some river crossing! It does sound like it would be refreshing on the return trip. Lovely captures of the scenery. The forget-me-not flowers are pretty.
Upon reflection, this wasn’t my most favourite day out 🙂 It had to be done, and I did it. With the intense heat, I am just glad it was over 🙂 That river saved me in the end. I was feeling light-headed from the heat for sure.
Yay! Congrats on the twin summits. This one also looks super fun. Also, great idea on the e-bike. I’m likewise not a mountain biker (I’m barely a biker, to be honest), but that’s such a smart solution to those long approaches.
My mountain bike skills are non-existent 🙂 I’ve since put a few more peaks on my To Do list that have long approaches. Will I ever finish that list??? Ha!
You live in a beautiful part of the world. X
Thank you Morag. I jest about the dull Kananaskis Grey colour, but it is still stunning.