August 8, 2022
This is Day 1 of 6 in the Ultimate Sawback Range Backpack in Banff National Park. To see the trip overview and daily breakdowns, click HERE.
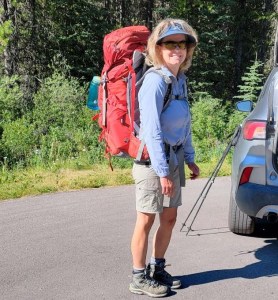
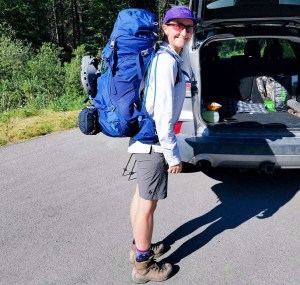
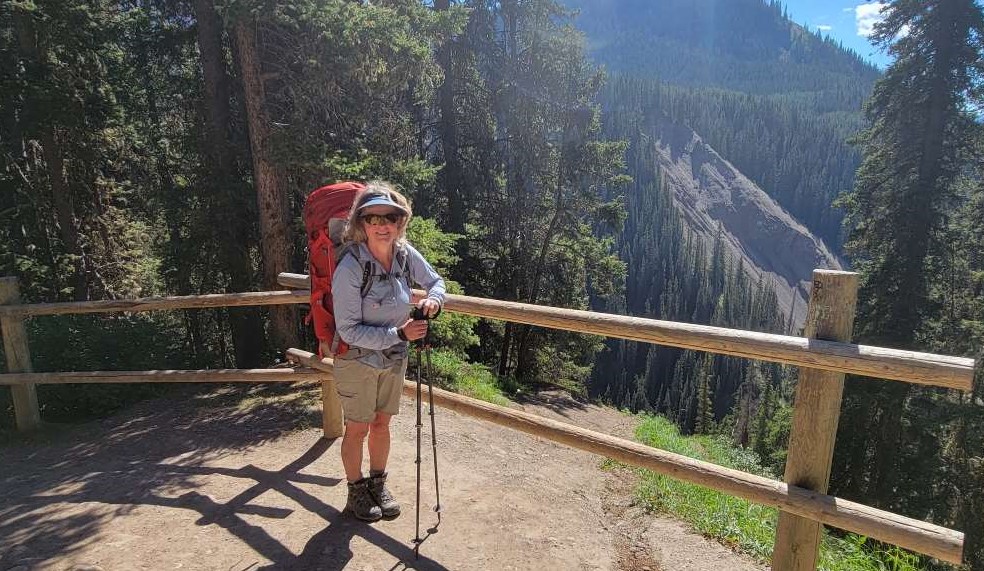
My friend Erin and I had been looking forward to this backpack all year. Erin is new to backpacking, and did some one nighters to get ready. I’ve been backpacking for a few decades, but haven’t been in a few years because not everyone is up for the challenge. After having hiked and scrambled together all year, Erin and I were very compatible in terms of speed, strength, and desire to get going early in the morning.
After spending endless days making and dehydrating breakfasts and dinner, plus day or so gathering all the necessary “stuff” together, we were finally ready to head out. We got an early start, because that’s just what we do. In hindsight, we could have started a bit later, but having extra time at camp to relax was ideal.
Today was a fairly easy day at just over 8.5 km, but with fully loaded packs, it was a good distance to start. Larry’s Camp was full, and we met some great people, and got some valuable beta.
Day 1 – Moose Meadows to Larry’s Camp Overview
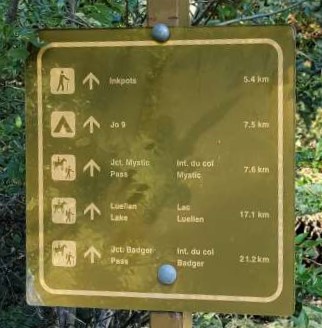
From the Moose Meadows parking lot, hike up the treed trail to the Johnson Canyon T intersection. Go left for the Ink Pots. Hike past the Ink Pots, and cross Johnson Creek at the bridge. Almost immediately, take the left fork to stay on the Johnson Creek Trail. This trail parallels the Creek, and leads straight into Jo9 Larry’s Camp.
Totals – Downloadable Tracks on Gaia, Displayed using Strava
Date: August 8, 2022
Group: Two (Alisen and Erin)
Distance: 8.5 km (official distance is 7.7 km but I clocked longer on GPS)
Elevation: 385 m (1,270′)
Time: 2 hours 51 minutes (includes one snack break)


Parking and Trail Head
We choose to park at the less busy Moose Meadows parking lot, which is just a few km west on the Bow Valley Parkway from Johnson Canyon. Unfortunately, there are no outhouses here, so it’s a good idea to stop at Johnson Canyon and use the nice indoor facilities prior to arriving.
Our parking lot is called Moose Meadows. Canadian Tip: anything with the word “moose” is code for a wet and damp area. Hence, be super prepared for an onslaught of the most heinous mosquitoes! I was eaten alive within seconds of leaving the car. Thankfully, we soon left them behind as we started hiking.
The trail head is super obvious, with a fence guiding us in.

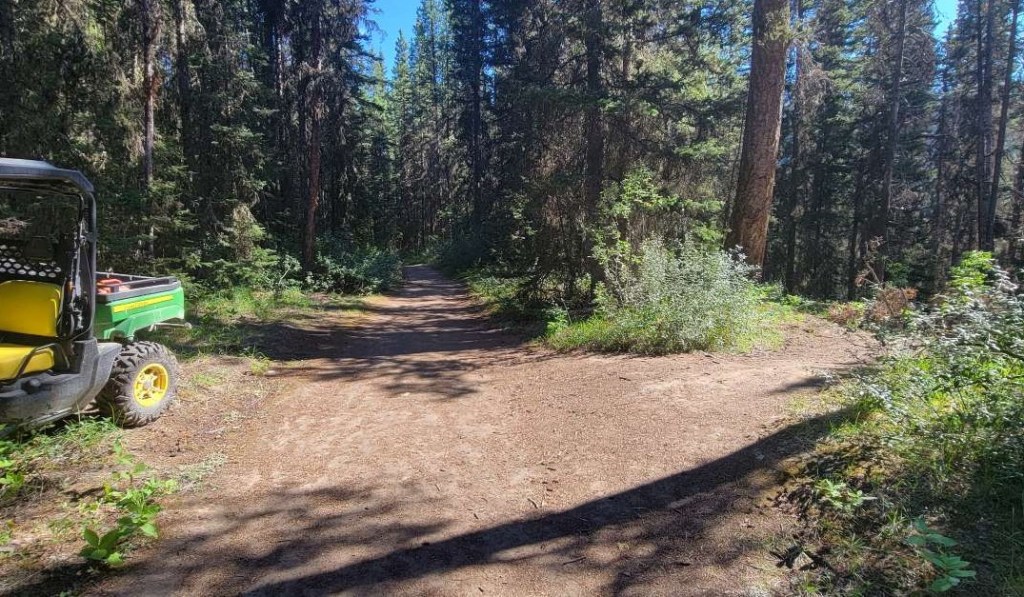
Main Trail
Once on the trail, we just had to STAY on it. A few side trails, which were easily avoided.

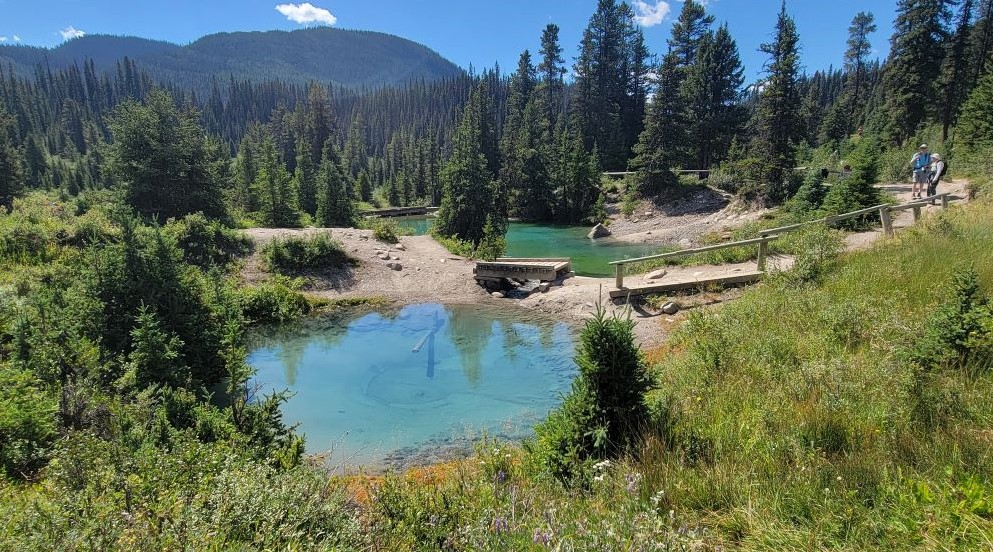
We hit the T junction around the 3.5 km mark. Turn Left for the Ink Pots. The Upper Johnson Canyon Falls are to the right.

The trail continues to gain elevation until we hit the high point at approximately 5 km from the trail head. From here, it was downhill to the Ink Pots.
It was now full on tourist-ville to the Ink Pots. Lots of questions on why we had such big packs, because most people were in flip flops and carrying a bottle of gatorade. Despite our loads, we still managed to pass a number of people. To be fair, we met people from all over the US who were not used to the elevation.
We stopped at the Ink Pots to admire the view, and do some pack adjustments. There should really be Park Wardens here on a permanent basis. SO many people were walking down to the water, eroding the banks, and putting their dirty hands in the clear water. There are signs saying to not do this, but apparently that’s for other people.
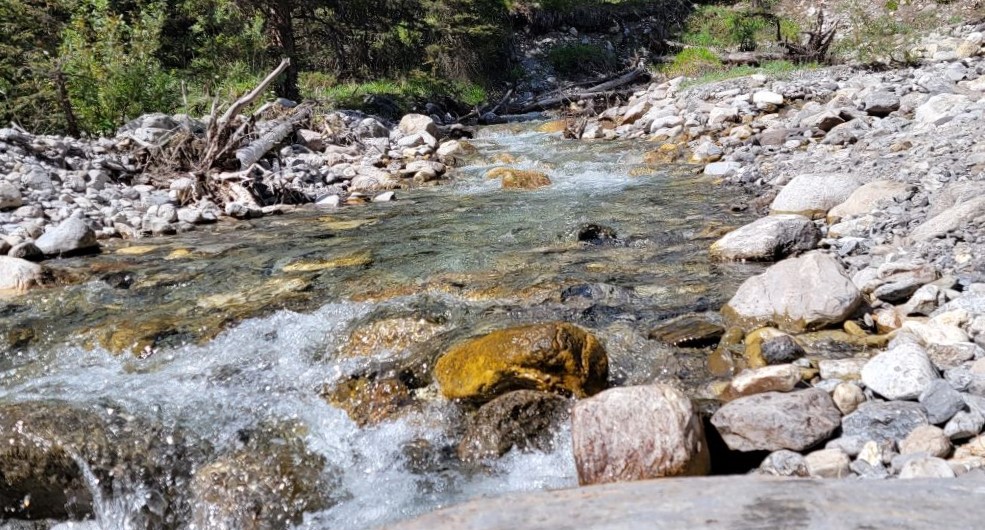
After a quick bite to eat, we continued on the trail towards Larry’s Camp. We crossed the bridge over Johnson’s Creek.

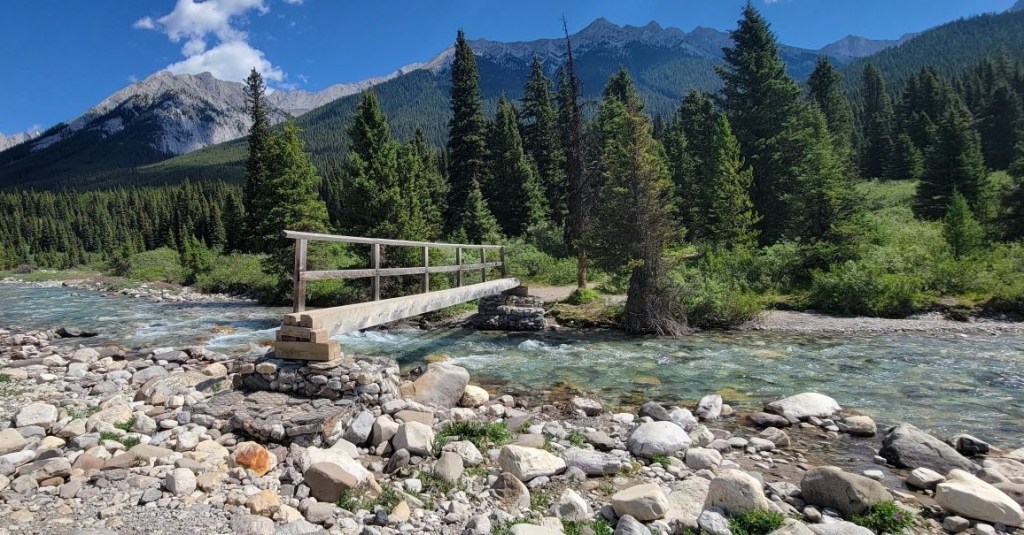
Across the Creek, we turned Left to hike parallel to Johnson Creek. According to the sign, Larry’s Camp was a mere 1.7 km away.


Jo9 Larry’s Camp
Larry’s Camp is the largest in the area with 10 tent spots. These are nicely spaced out in the trees, well away from the eating/cooking areas. At only 8 km, with minimal elevation gain, this is an ideal spot for kids or first time backpackers. There are a couple of day trips from here as well, if you don’t want to pack up every day.
There are two eating areas, separated by a pretty good drop into the lower area. I don’t think we ever found an ideal way down there. Maybe you’ll have better luck?
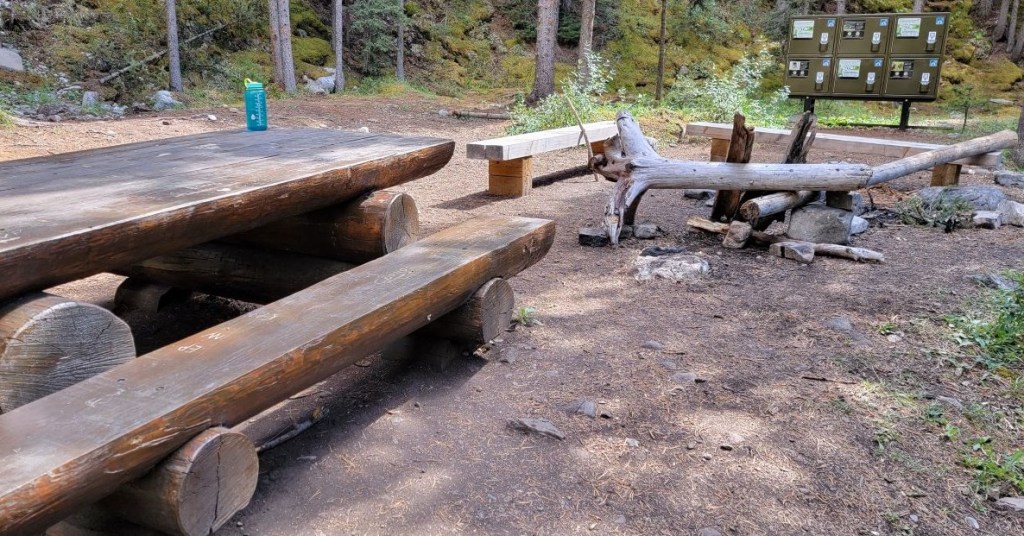

The lower eating area is next to Johnson Creek, but water can be found upstream of the higher eating area as well.
Decisions, decisions…. It took us less than 3 hours to reach Larry’s Camp, and we were feeling pretty spry. We met a friend on our hike in who had just spent a week in the area. She said that despite all the campsites being fully booked, half of them were empty from no-shows.
We seriously considered shouldering our packs once more, and heading for our second campsite at Mystic Junction. We decided to stay in Larry’s, and good thing we did for two reasons. One, we met a couple of guys who did a day trip to Mystic Pass. They showed us photos from the top of the ridge they climbed. Okay, definitely adding THAT to our To Do list. Two, the trip to Mystic Junction was a LONG day. Adding in the 8 km from Larry’s would have been a bit miserable.
Click HERE for Day Two as we backpack over Mystic Pass to Mystic Junction.
Thanks for reading! Please do me a huge favour and click the Star button to “Like” it. You can also follow my blog, join my FaceBook page Al’s Adventurers, or follow me on Instagram
Alisen
I love all things mountains! I live next door to the Canadian Rocky Mountains, however I travel the world to enjoy the many different mountain environments and cultures that I can. I hope you enjoy these trip reports, and that it inspires you to accomplish your own adventure goals.

Annnd, away we go! 😀 … your ‘click HERE for day two’ at the bottom of this post doesn’t have a link. 🙂
Thank you! I have updated the links as I’ve added in the next day. Great reminder to fix that.
P.S. … hmm, I’m guessing that’s because you haven’t posted it yet? 🙂 (I checked the coloured text at the top of this post – no action there either 🙂 )
It’s there now. Thanks buddy! You rock!