August 19, 2019
The Skyline Trail backpack has been on my “list” for several years, and I finally made it a reality this summer. I will freely admit that I was reluctant to do this trip because of the mosquitoes. Some good friends did the trail years ago, and actually cut off a day because they couldn’t handle the swarming bugs. Their photos were enough to scare me away for a good decade.
My group completed the trail in three days and two nights, but there are many variations depending on how fit you are, if you want to do any side trips, or climb some peaks. Jasper National Park has a great online guide, including suggested itineraries and trail conditions. The Skyline Traverse is 44 KM, with fairly moderate elevation gains. The trailhead is at 1,690m (5,577′), and the highest point is The Notch at 2,510m (8,283′). There are elevation losses throughout the day, so total elevation gain is much higher.
Compared to say, the Rockwall Trail, I would consider this an ideal beginner backpack, as long as the weather held. In a raging snowstorm, the actual Skyline portion could be treacherous. There were two Parks employees putting in poles to guide people across in a white out.
I had a very large group – six adults and three teens. It was my group of four – me, my husband Mike and our two teen daughters, a family of three with their teenager, and an adult couple. Ages ranged from 17 to 67. My family has done umpteen challenging backpacks, but this was the first trip for the other teenager. The couple had only done one other backpack (with my husband Mike and I ) the previous summer.
I have not spent any time in Jasper National Park, so everything was new to me, including where to stay and eat. If this is also you, then here is some info. We stayed at the brand new Hosteling International Sleepy Hollow Hostel. It was ideally located just across the train tracks from the town (next to the RV parking lot). Please note there IS a pedestrian underpass, so you don’t need to stand at the crossing waiting for the trains to go by. The hostel wasn’t quite finished for our stay, so we received a 10% discount, which was very nice. The hostel offered a variety of room types, and everyone in our group had a private in-suite bathroom with shower. Not all hostels offer this, and it was very much appreciated. The hostel has a large group area on the main floor (which we took advantage of to make the final arrangements for the backpack), and a kitchen to prepare your own food (which I studiously ignored).
We ate at the Jasper Brewing Company, along with everyone else visiting Jasper. This place was HOPPING busy, with long lineups outside the door, even in windy cold weather! As we had a group of 9 we made a reservation, which the restaurant gladly takes prior to 6:00 pm. I felt a bit bad about sailing right past the people who were standing in line, but luck favours the prepared.
The weather was a factor for our backpack. I booked the trail in January when the Jasper back-country reservation system opened up. It had rained heavily the weeks prior to our departure, and I had seen reports of snow and vicious hail storms all summer long. I booked in later August, with the hopes of a killing frost to beat back most of the mosquitoes. This plan worked a bit, but we were still doused in mozzi-sauce and wore all our clothes at the campsite to prevent getting eaten alive.
I am breaking down this trip report into the three hiking days we were out. This is to give you as much info as possible, and to give other possible hiking itineraries.
DAY 1 – Maligne Lake to Snowbowl Campground
The biggest challenge of Day 1 was sorting out the car transfers. The trail starts at Maligne Lake, and ends at the Signal trail head, just beside Maligne Canyon. The driving distance between them is 38 KM. We chose to leave one car at Signal, and take two cars to Maligne Lake. We packed one vehicle with two people plus all the gear, while I took the remaining seven people in my SUV.

The drive to Maligne Lake is gorgeous. We would be looking across at this range from the Skyline trail on Day two.
The other option is to take a shuttle, which will conveniently drop you off right at the Skyline Trail head. I know this, because the rest of the people on the trail that day were dropped off at the exact same time as we started our trek…
The Skyline Trailhead is just beyond Maligne Lake. Continue on the road past the Chalet and across the bridge to the parking lot on the west side of the lake. The trailhead is on the right-hand side of the road, just before you reach the parking lot.
It had rained about a week before our start date, and had poured the night before we left. The road was just drying up as we left the hostel, but we were incredibly lucky as we stayed dry on the entire trip.
The trails were in very rough shape. I’m a bit surprised it was even open, as the conditions felt like early spring and not late summer. I am NOT complaining about the rain, as it is 100% better than the raging forest fires we had the years prior. I am just noting trail conditions.
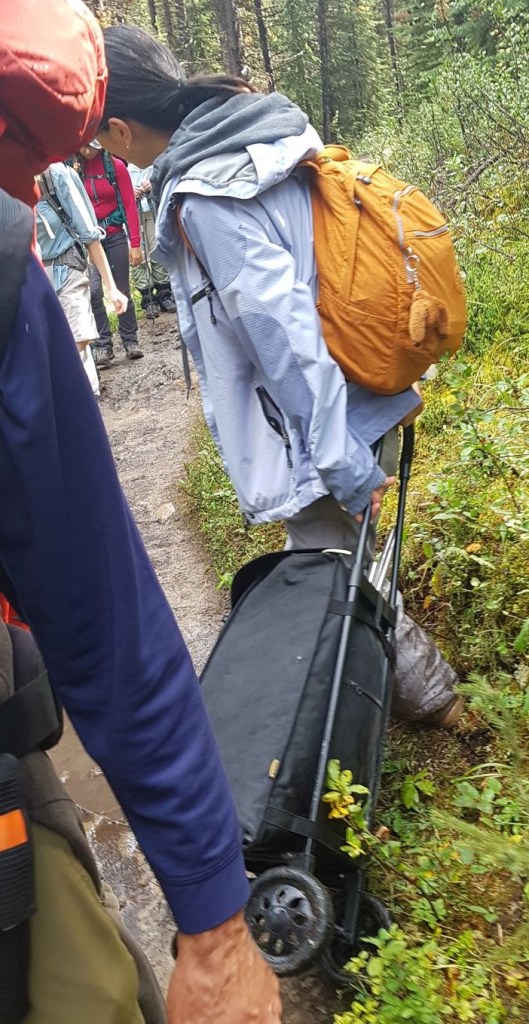
The 5 KM trail to Evelyn Creek Campground was particularly tricky. The mud was deep and unrelenting. While we tried not to braid the trail, it was impossible not to. We wore our gators the entire three days, which really saved our boots and pant legs. The elevation gain is very minimal, and there are no real views at this point as you are still in the trees.

Wet, sticky mud. I usually only see trails like this in equestrian areas in early spring. By day 3, the lower trails were just starting to dry out.
The one thing I do like about the Skyline Trail is the large mix of people you will encounter. There were lots of trail runners doing the whole 44 km in one day, but there were also some surprises. I give total props to this woman who was determined to come to Jasper and take her son camping. They spent the night at Evelyn Creek Campground in the pouring rain, and still had smiles on their faces.
The Skyline is an ideal beginner backpack area. Even if you don’t want to do the entire trail, you can always enjoy a short trip to Evelyn Creek or Little Shovel campgrounds. Kudos to this woman who made an adventure come true for her and her young son.
The next campground after Evelyn Creek is Little Shovel at the 8.3 KM mark and about 361m (1,191′) of elevation gain. We ate our lunch here after about 2 hours and 40 minutes of leisurely hiking. We passed a lovely river and bridge along the way, and finally started to gain some elevation via switchbacks to get away from the incessant mud.
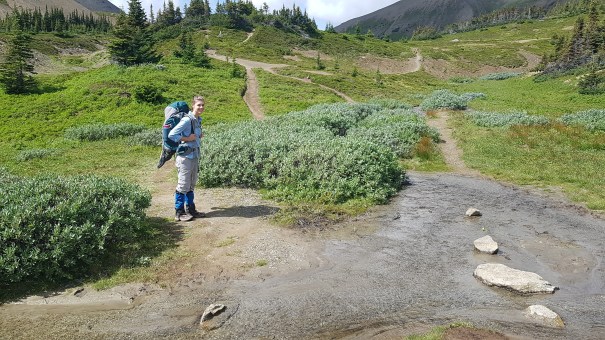
Little Shovel Campground is a nice and quiet spot to spend the night, especially if you want to add some days to your backpack or if you want to climb a mountain, like Curator. We kept going after lunch, and finally left the trees to get our first real look at the landscape and see Shovel Pass.

We finally leave the trees beyond Little Shovel campground, and get our first look at Shovel Pass. As you can see, it is a very gentle pass, with light elevation gain.
From Little Shovel Campground, it is another 2.7 very enjoyable kilometers to Shovel Pass. We were blessed with clearing skies and warm weather. While hiking, we are not bothered by mosquitoes as we are generally above their preferred elevation, and we are also away from the boggy landscape that encourages their unfettered breeding.
The terrain to Shovel Pass is gorgeous. Due to the heavy rains, we had lots of little creek crossings. I would imagine these to be dried up by late August in a normal year.
This is the view from Shovel Pass. The trail continues down to the right, and curves around the base of Trowel Peak to arrive at Snowbowl Campground. This is actually quite a steep descent, so if you have knee problems, I’d highly recommend you put on your knee braces at the top of the pass.
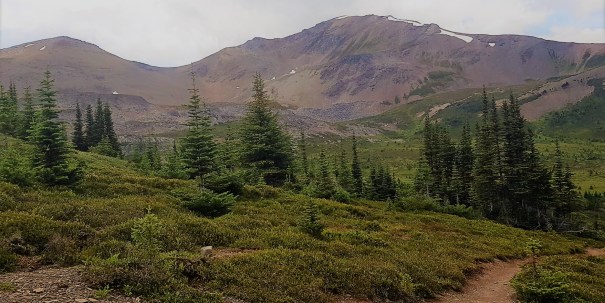
The Top of Shovel Pass – 2,240m. Total elevation gain is 511 m (1,686′) over 10.8 KM. We started at 10:15 am, and arrived here at 2:18 pm, so about 4 hours of hiking with a lunch break.
Water is an issue on the Skyline Backpack. From looking at my topo map, I could see that the last major creek was about one kilometer prior to the Snowbowl campsite. It was here that we spent some time filling up all our water bottles to capacity. As it turned out, there were some smaller creeks fairly close (500 m???) to the campground, but better safe than thirsty.

This is the last major water crossing prior to Snowbowl Campground. Fill up your water bottles here, especially if it hasn’t rained for a while and other creek levels are low.
From here, it was a very quick jaunt to the Snowbowl Campground. It was completely full that night, but it never felt overly busy. There are only three picnic tables, but everyone took shifts eating, and no one was left without. There are bear proof storage bins here. The campsites were a ways away from the eating and food storage areas, and the outhouses.
Mosquitoes in Camp
To fully maximize your mosquito experience, all campsites on the Skyline Trail descend back down into boggy terrain. We were blessed with both black daytime mozzies, and a weird red variety that came out at night. My family brought rain pants, and they were invaluable at the campsite. We changed out of our hiking pants (to let them air out) and into our mosquito-proof rain pants. With the gore-tex jackets done up, we were quite safe. Another person on my trip had the bug repellent clothes from Marks Work Wearhouse. These were also very good against the bugs, but meant you couldn’t get changed after hiking.
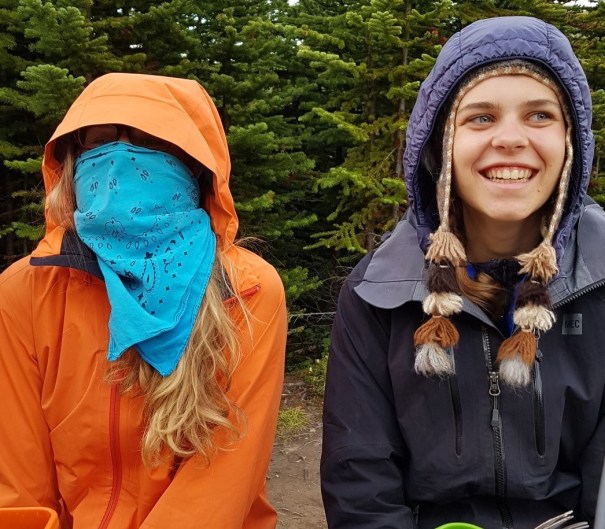
Doing whatever it takes to escape the mosquitoes!
For mosquito repellent, a nurse at a travel clinic told me about Icaridin, and I purchased the Care Plus brand from MEC.ca. It lasts longer than DEET, doesn’t eat your technical fibers, and is non-greasy. I only had to spray my toque to keep the bugs away from my face. Again, we got extremely lucky with the bugs compared to how bad I know it can be. If you are going in full-on summer with hot weather, be prepared with face nets and whatever arsenal of bug sprays you feel comfortable wearing.
The Triplets – Otherwise know as Outhouses
I affectionately named the outhouses The Triplets, for obvious reasons. To be fair, I love outdoor toilets because they smell way better than enclosed outhouses, flies are not an issue, and I personally love a loo with a view. What I do not like about these particular toilets is their extremely close proximity to each other. It’s one thing for a couple to visit the loo together, but I’m not going to show my bare bum to a total stranger (and men would be showing a lot more). The entire campground was backed up (literally and figuratively) in the mornings as only one person at a time could visit the facilities. I’m sure some dude in Ottawa thought this was a great space saver, but it’s not very practical in use.
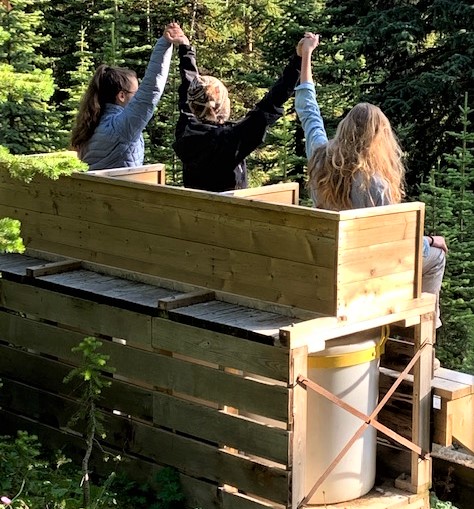
The three teens found a way to make The Triplets fun. If you have a good sense of humour, I’d recommend bringing various props, and taking some hilarious photos. If you have done this, please email me the results and I will add them here.
This is the end of Day One on the Skyline Trail. To read about Day two click here. Or, if you want to skip to the end, click here for Day Three.
If you have any questions, please leave a comment so everyone can learn from the feedback.
Happy Trails!
Daily Totals – Tracked on Strava
Distance – 12.96 km
Elevation – 617m (2,036′)
Total Time – 4 hrs, 38 min (moving time – 3 hrs, 36 min)

Day One started at Maligne Lake, up past Evelyn Creek and Little Shovel Campgrounds. Shovel Pass was the low point of

I love all things mountains! I live next door to the Canadian Rocky Mountains, however I travel the world to enjoy the many different mountain environments and cultures that I can. I hope you enjoy these trip reports, and that it inspires you to accomplish your own adventure goals.

Leave a comment