July 9, 2020
Welsh Lakes is a classic hike in the Purcell Range, and is a must do for nearly everyone in the Columbia Valley. The logging roads are in pretty good shape, depending on when the last rain fall was. Except for the last 1.5 km up the steep and rocky access road, it can be driven with a 2 wheel drive.
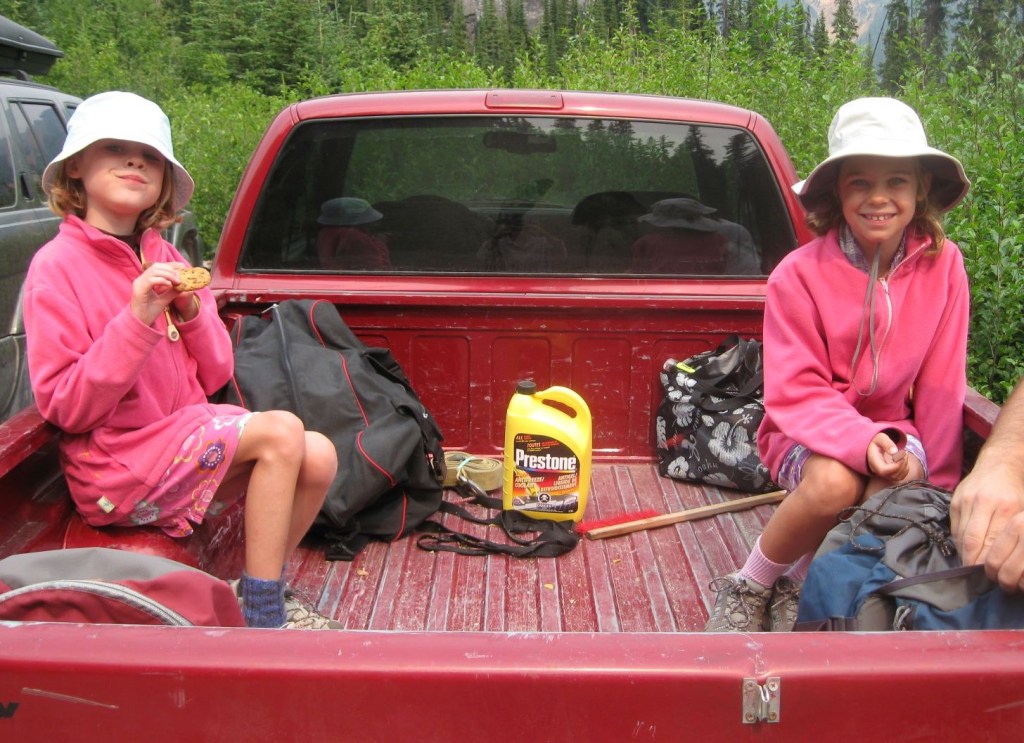
I have done this hike three times. The first time we drove a 4×4 truck. No problems. The second time I drove my minivan, with just my 12 year old daughters. The last section of the road was really soft, and I was worried the whole hike that I would get stuck on the way out. I was not able to get all the way to the start of the trail head, so we parked at the bottom and hiked the extra distance. As the hike into Welsh Lakes is not that far, the extra distance is completely doable.
When I returned in July 2020, I was driving an all wheel drive Santa Fe. It had no problem making it all the way to the trail head, thanks in part to the final access road being recently improved.
Click HERE for driving directions. I recommend checking official sites before you go in case anything happens to the road.
Gear
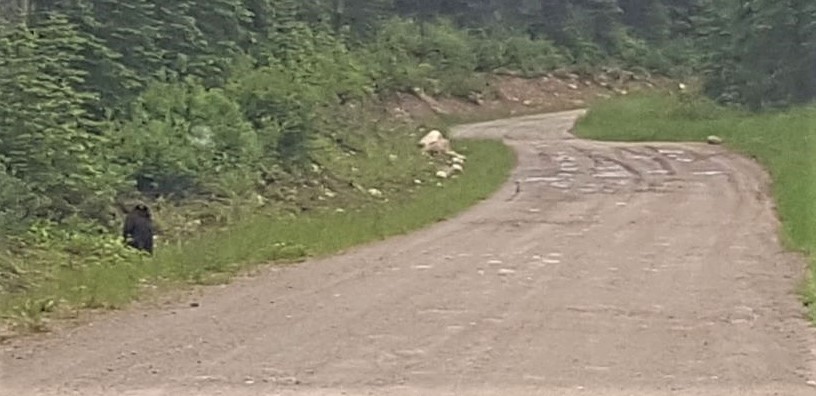
Hiking boots, poles, your regular day pack kit and bear spray. Bears in BC are way more common than Alberta. On all three trips, I have seen a black bear on the road driving in. I have never seen a bear on this trail, but it’s always best to assume they are there.
Overview
From the trail head, start hiking up the trail. At the base of the rock slide, follow the trail up to the base of the headwaters dam, and traverse across. Continue up until you reach Welsh Lakes. To keep going, follow the shore trail to the next lake.
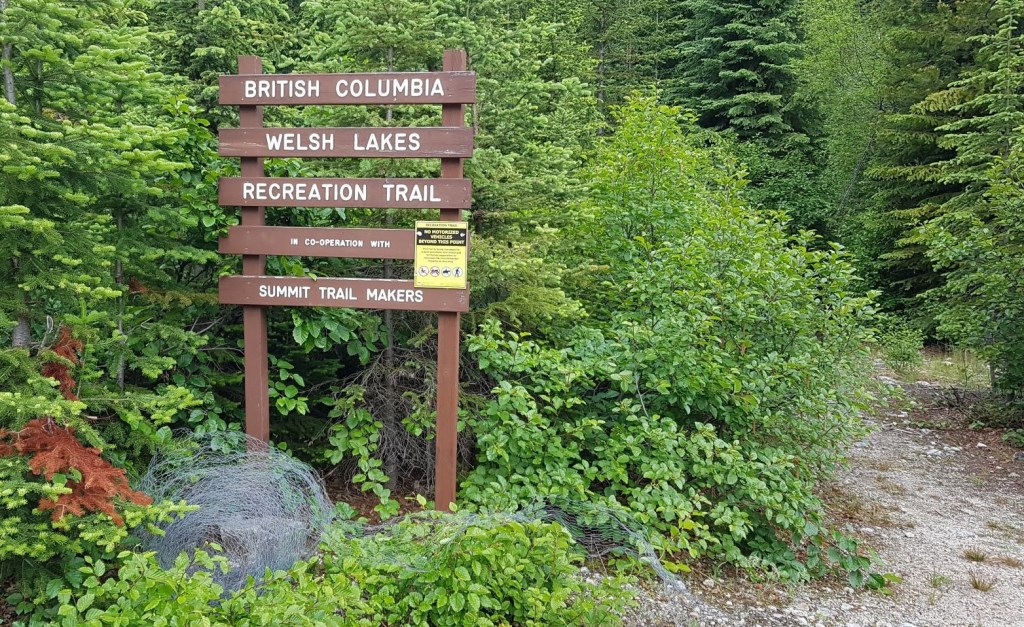
Trail Head
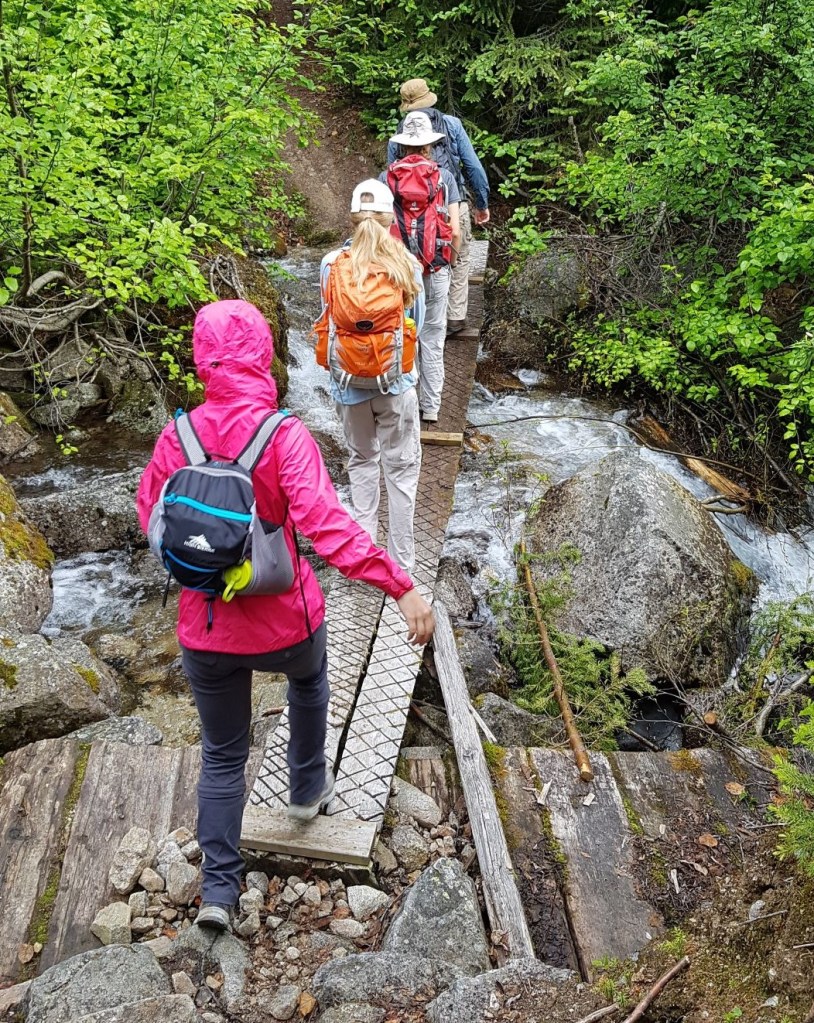
The main parking lot for Welsh Lakes is at the top of a 1.5 km long access road. This is where you will find the outhouse. As mentioned above, it’s okay to park at the base of this road and hike up. From the trail head sign, start hiking on the trail to the right. Almost immediately is a small bridge across Welsh Creek.
Main Trail
After the bridge, the trail is in the trees for almost 2 km.

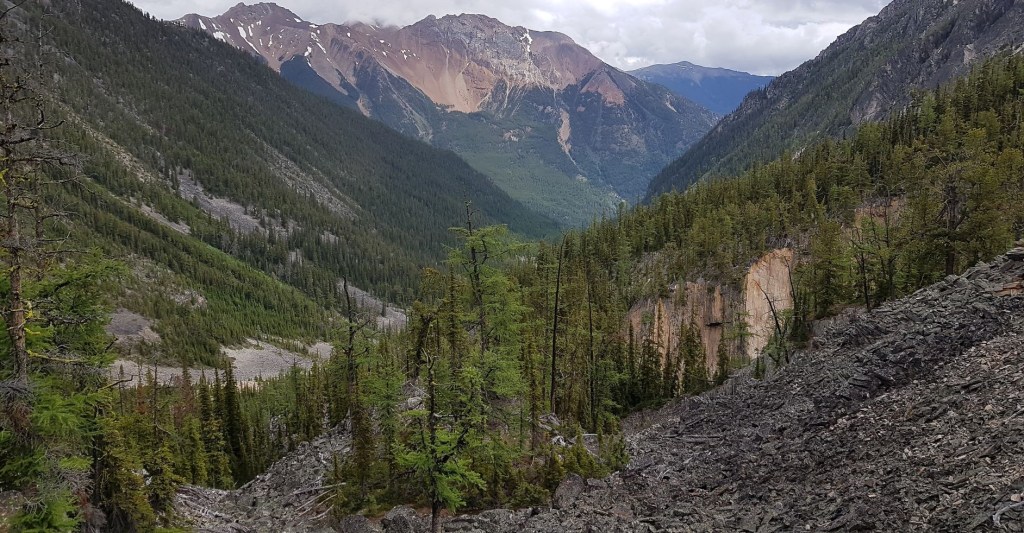
The trail follows the Welsh Creek drainage, but you only get to see this after maybe 1.5 km. This section of the trail is lovely, with several views of Welsh Creek and the mountain range towering above.
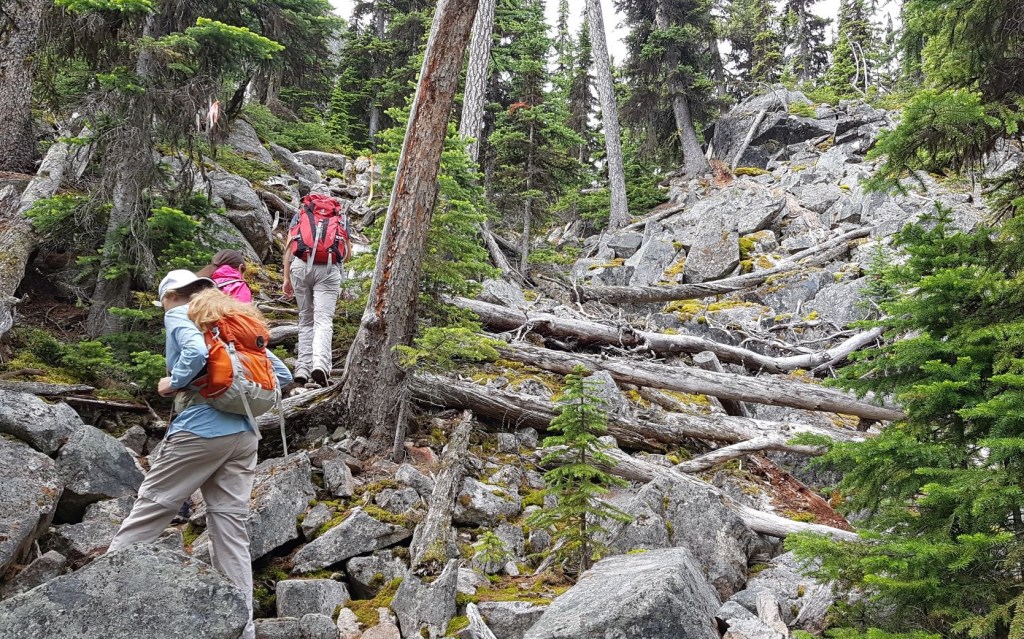
At around 2.5 km, the gradually inclining trail ends in a spectacular rock garden. For a Rockies hiker like me, it is an absolute joy to see a granite rock slide. The boulders stay put when you walk on them, and the trail is defined not by ground limestone, but by a lack of lichen on the rocks.

Walk around the base of the rock slide until you reach the far side. From here, a trail through the rocks was easily found. My daughter Mackenzie is learning how to lead, and this was excellent practice for her to find and keep the trail.
This 1 km section is where we gained the majority of our elevation, basically going straight up the contour lines.

As we neared the top, the trail began to traverse around to the left. Above us was the head wall holding in the crystal blue waters of Welsh Lake. From here, we traversed across to Welsh Creek.

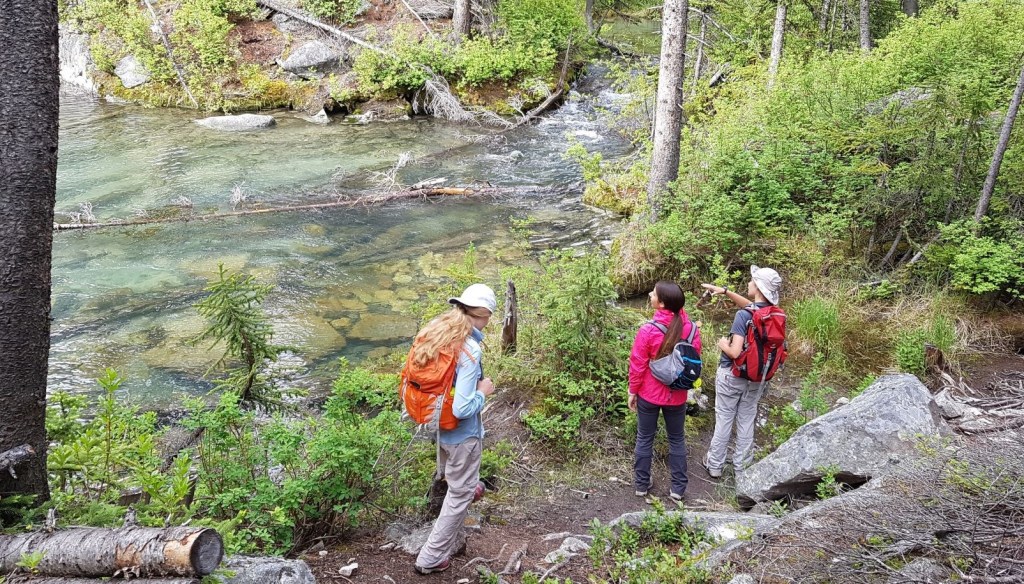
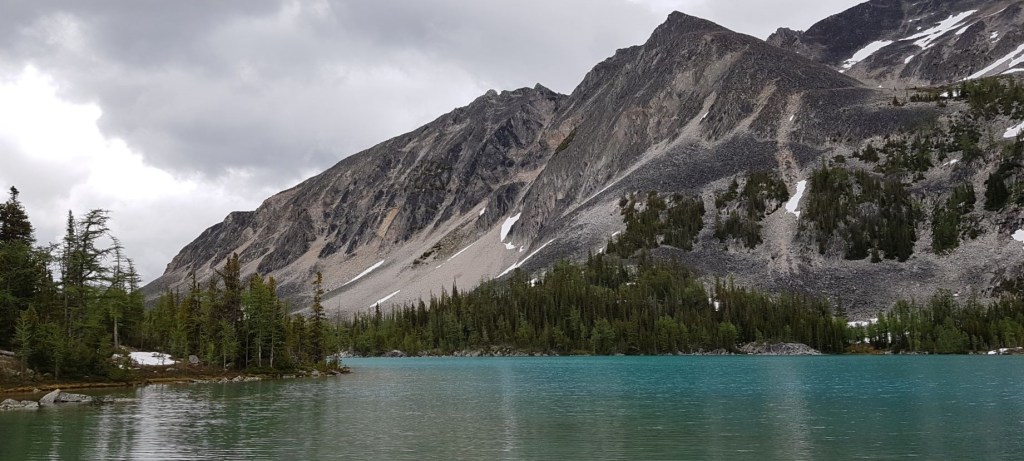
Once across, we picked up Welsh Creek again, and followed it to the first “Lower Welsh Lake”.

This is a stunning view and a worthy destination all on its own. Distance to the first lower Welsh Lake is about 4 km, and time to reach it was about 1 hour, 30 minutes.

In the past, we have stopped here for a short swim, especially on super hot August days. This trip was in early July with a lingering snow pack. We opted instead to head up to the higher lake.

We followed the shoreline trail around a little spit of land.

The trail then curved around a cute little cove, which would have been even cuter without all the super annoying bugs. I don’t think they were biters, but we were covered in clothing head to toe, so really, who knows.

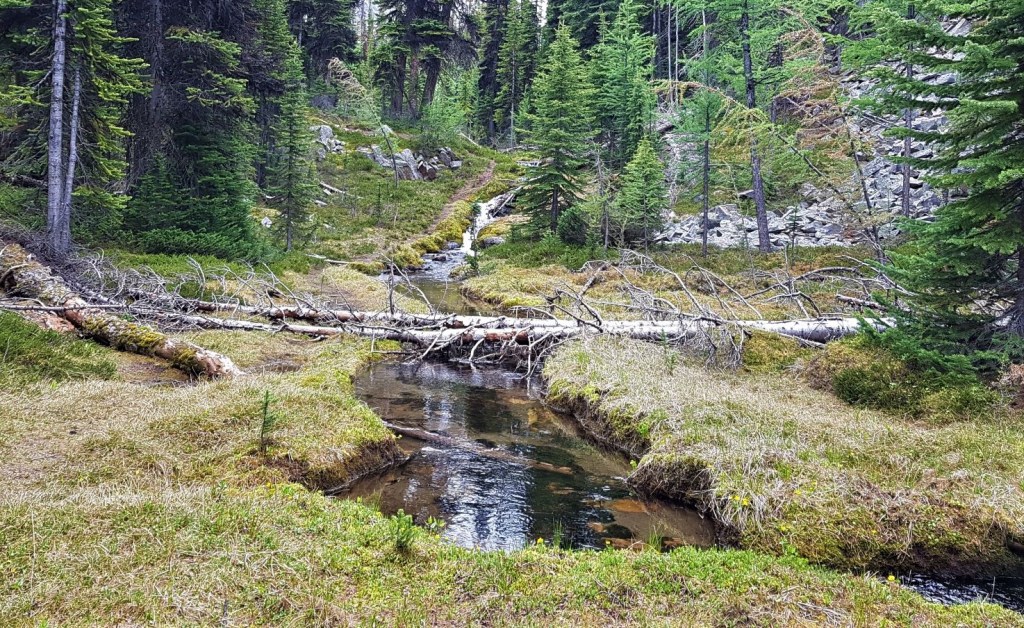
Once around the cove, the challenge was crossing the stream coming down from Aberystwyth Lake above. I imagine that later in the year this would be no problem. We managed to catch it at its full run off. We poked around, and found several crossings up and down the stream.
We picked the easiest crossing, which was a ways up from the shore. There was a faint trail to start, but it quickly petered out. We stomped through the bush for a bit until we caught the main trail again.
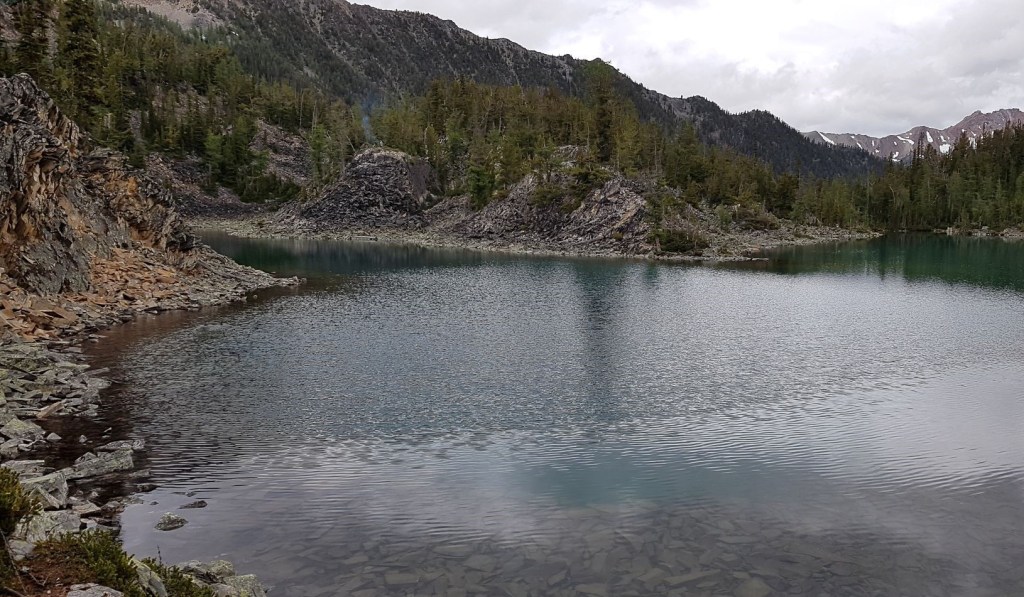
Once back on the main trail, it was simple enough to follow the trail to the end of the “upper” Welsh Lake.
While we had thoughts of continuing up to the third and final lake, we were stopped by a wall of snow. Normally this would not deter us, but we were not prepared with spikes or ice axes. In addition, we had someone else’s daughter with us. If something happens to my kinds, well, that’s on me. If something happens to someone else’s kid … It’s just not worth the risk.
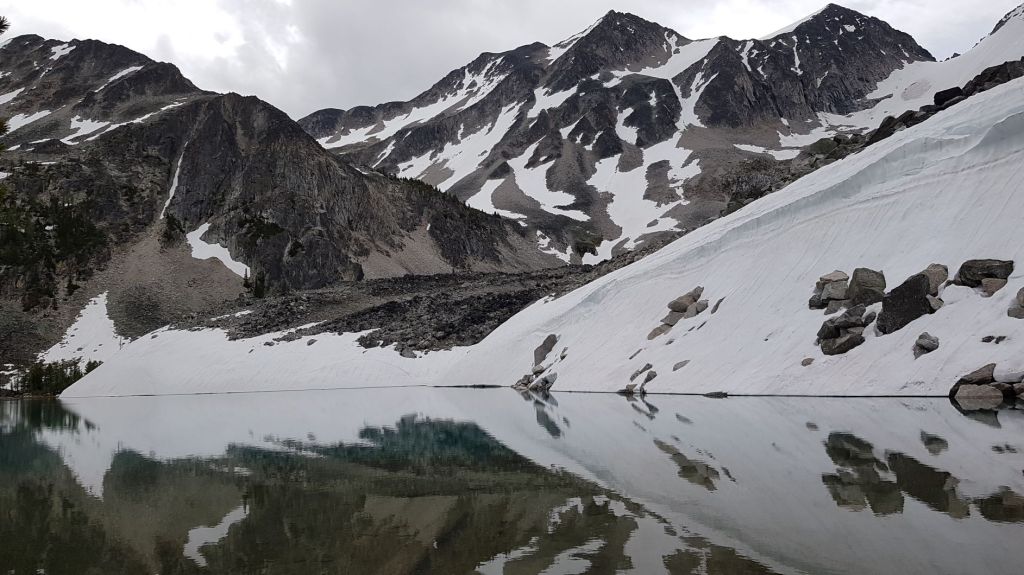
We bundled up and enjoyed our lunch, hoping that the soft rain coming down would remain soft and not turn into a deluge.

Time to the upper Welsh Lake was 2 hours. Distance was 5.6 km. Total elevation gain to this point is 586 m.
We did enjoy some on hill entertainment over lunch. Mike and Mackenzie, never ones to sit still, decided to climb up the snow wall. Mike kicked steps, which Mackenzie followed for a bit until it got too steep. She then wisely stepped aside and made her own steps, in case her dad came tumbling down.

Snow sliding is an art, and the more you can safely practice it, the better. Just this year alone, I slid down a section on Heart Mountain and lost about 2,000′ from the summit of Mist Mountain. This really saves the knees and I would highly recommend it!
The view from the top was worth the effort.

Upper Welsh Lakes Return
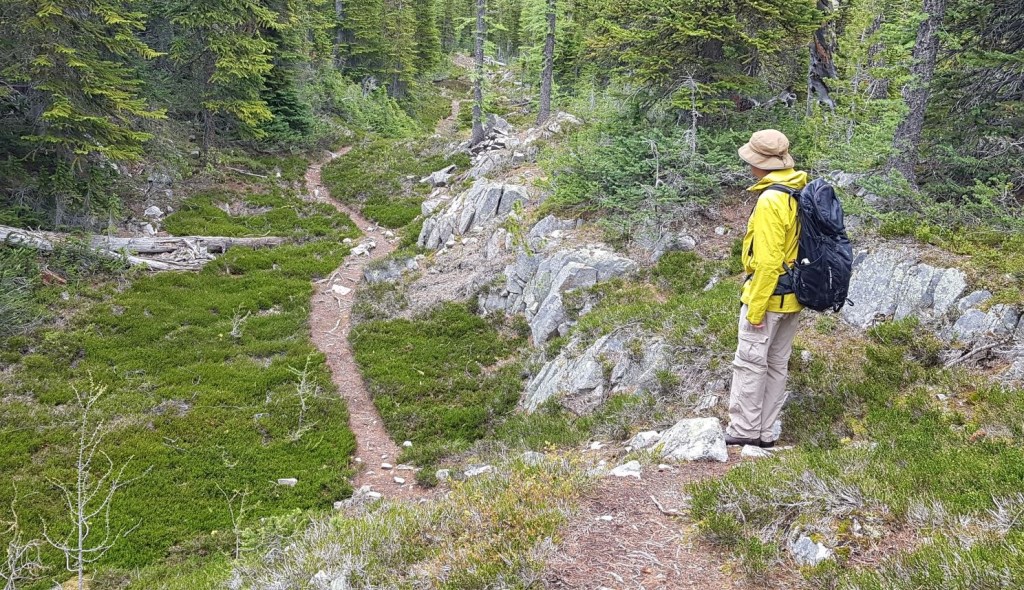
On the way back from the Upper Lake, we took the same trail until we got to the end of the cute cove. Instead of going around the spit to the right, we instead turned inland and went straight ahead. This cut off a bit of time and distance.
This short cut, while not as popular as the main trail, was still well used.

While the trail was quite steep on the final descent section, it popped us out right back on the main trail, directly at the start of the traverse across the head wall. This is a fairly big trail, and I imagine people who are heading to the upper or higher lakes would take this cut off on the way in to save time.
After this, we simply followed the trail back down the rock slide, and all the way back.
If you found this post useful, please do me a huge favour and click the Star button to “Like” it. You can also follow my blog, follow me on Instagram, or join my FaceBook page Al’s Adventurers.
Alisen
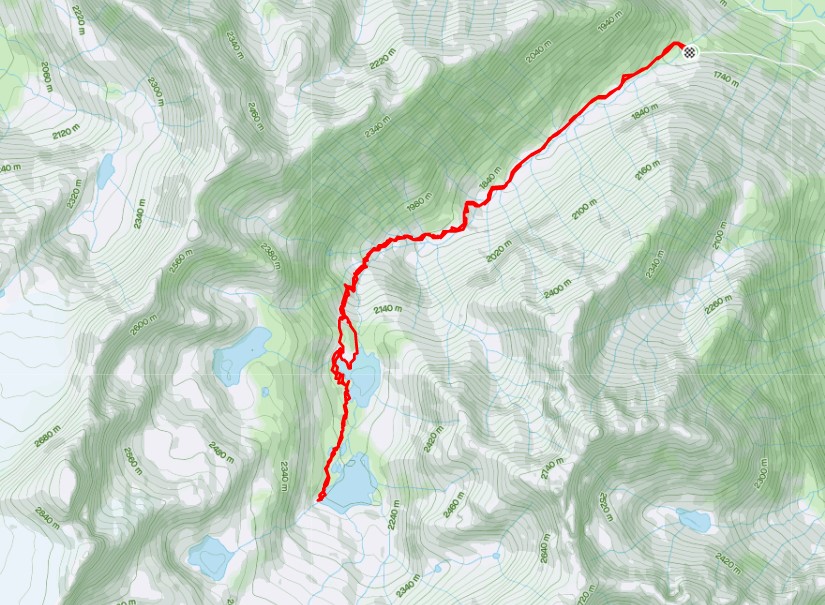
Totals – Tracked on Strava
Date: July 9, 2020
Group: Five (Alisen, Mike, Kayla, Mackenzie and friend)
Distance: 11 km
Elevation: 586 m (1,934′)
Time: 4 hours

I love all things mountains! I live next door to the Canadian Rocky Mountains, however I travel the world to enjoy the many different mountain environments and cultures that I can. I hope you enjoy these trip reports, and that it inspires you to accomplish your own adventure goals.

Sliding down that snow wall looks so much better than climbing up it. Sounds like this was quite a fun hike with lovely views of the mountains along the way.
Oh yes! The wall turned out to be almost vertical. Luckily I had an extra pair of mitts for my daughter as her hands were pretty cold after. Oh, the fun! 🙂
Oh! Serene
Yes, that’s a great way to describe it. Thank you for your insight. You are very aware.
You have beautiful blog! Compliments!
Thank you very much. So do you! It seems we are at polar opposites. Mountains and seas. Both spectacular!
Looks soo lovely…❤❤
It’s a magical place, for sure. I wish you many adventures of your own!
Thank u.. Looking forward to have a great time…
Beautiful blog 😍😍❤️
Love this post! But I would’ve tumbled down that mountain! 😀
Ah, that made me laugh! Yes, well, we do work up to that. Also, this is a good point to make – we would never do that on an unending snow slope, or if there was danger at the bottom, like a cliff or rocks. For safe snow travel, like across glaciers, we carry ice axes, are roped up, and have crevasse rescue training.
That’s awesome! I know you guys have lots of fun! 😃