August 29, 2026
After a disastrous summer with numerous injuries and car troubles, I really needed a win. My hiking buddy Erin had an awesome adventure already tee’d up. The Whistler-Table traverse is in Castle Wildland Provincial Park, and requires either two high-clearance vehicles or a bike to complete the loop.
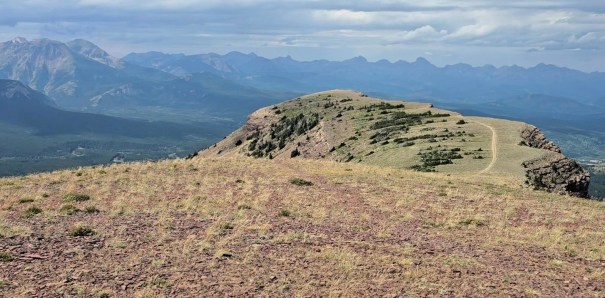
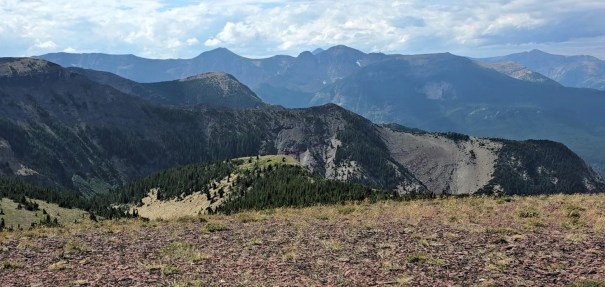
While logistically challenging, I loved this traverse. We were up high in the alpine the whole time, an adequate amount of route finding, and surrounded by epic peaks I couldn’t wait to explore. The bonus? The rock colours are amazing! Don’t like the purple? Try the red. Prefer green, beige or black? Take your pick! Truly gorgeous scenery the entire way.
The only downside was the heavily used Table Mountain at the end. I knew it would be busy with the campground below, but I wasn’t counting on people taking a scree ‘short cut’ and spewing rocks down on the official trail below. Despite this, we had a fantastic day in the deep south, and I highly recommend it.
If you are not into the logistics or the full traverse, then simply going to Whistler Mountain and the lookout is a great day.
Gear
Hiking boots, poles and regular day pack kit. No water on the traverse, so we packed extra.
Overview
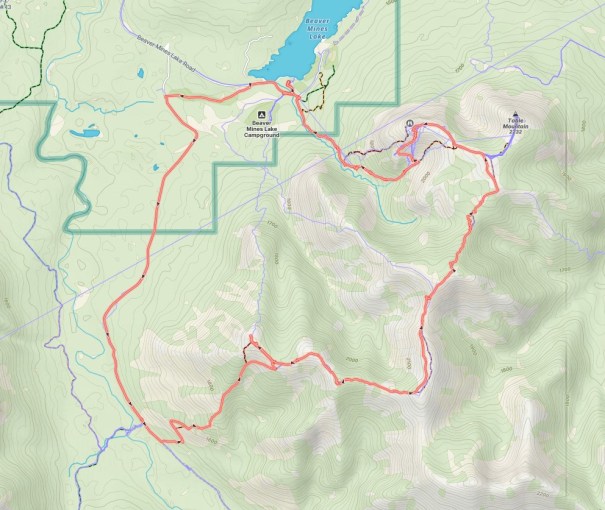
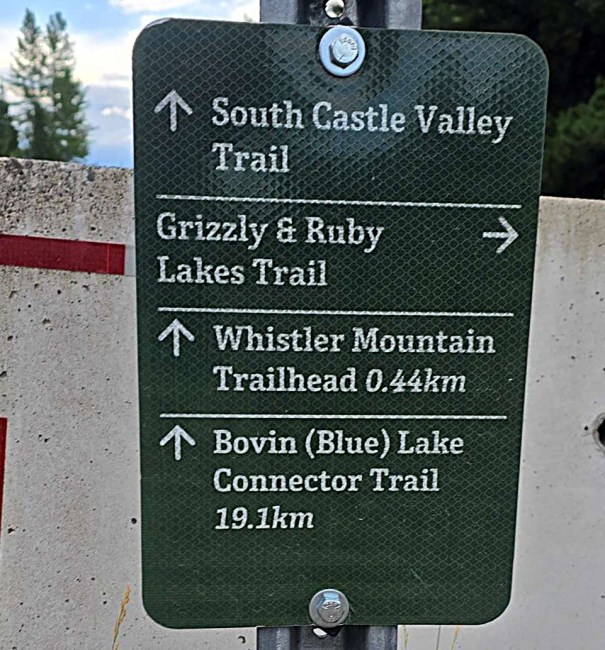
Stash bikes or one vehicle at the Table Mountain Trail Head. Drive to the Whistler Mountain Trail Head. Walk down the closed road for 1/2 km, then start hiking at the sign. At the first junction, we went left to nab the Whistler Fire Lookout. Then traversed across to nab Whistle Mountain. The second bump along the way has the Pink Summit Register box, but the third bump over is marked as the official summit of Whistler Mountain. Most people turn around here, and that’s a great day.
We descended a steep slope, and up the other side to the 1st bump after Whistler Mountain. About 9/10th of the way up, we found a trail that traversed the west side of the ridge. This took us to the col, where we ascended the 2nd bump after Whistler. We then descended Bump 2 and hiked back up to the Table Mountain plateau. From here, you can summit Table, but Erin and I already did it very recently, and had zero desire to deal with the crowds. We hiked down Table Mountain to that trail head, and rode our bikes back to the Whistler Mnt trail head.
Video
Here is a great overview of the route, showing some of the gorgeous scenery and rock colours and formations.
Totals – Downloadable Tracks on Gaia
Date: August 29th, 2026
Group: Two (Alisen & Erin)
Total Distance: 22.79 km (hike & bike)
Hike Only – 15.9 km. Strava link
Bike Only – 7.64 km. Strava link
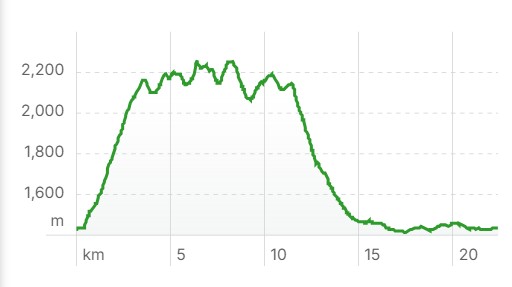
Elevation: 1,379 m (4,550′) Hike – 1,296 m, Bike – 83 m
Time: 7 hours 11 minutes. Hike – 6 hours, 37 min, Bike – 34 minutes
Parking and Trail Head
We elected to hike first, and bike to finish, so we stashed our bikes at the Table Mountain trail head, which is just up from the Beaver Mines Lake day use area. This is a very small parking area, and fills quickly. There is no outhouse here, so we stopped prior.
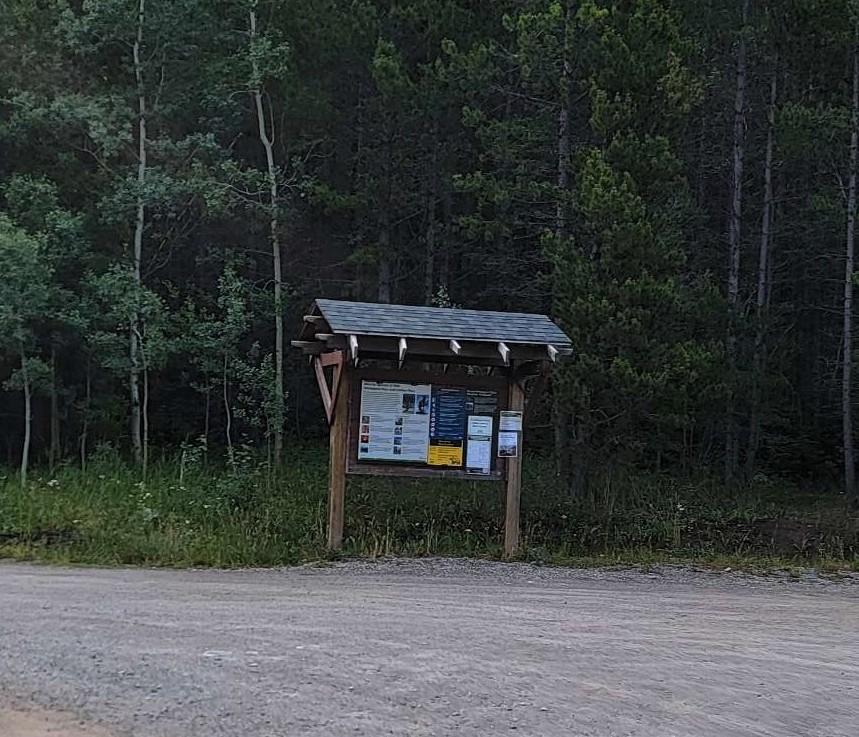
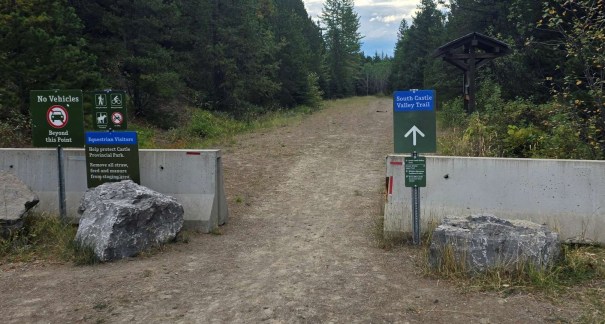
Once the bikes were stashed, we drove to the Whistler Mountain trail head. This gravel road is fine until we passed the campground, and went through a small gate. There was a washout earlier, but fresh gravel was dumped to shore it up. There was fresh gravel all the way up, which was nice to drive on but a bit tricky on the bike. NOTE: the provided GPS track is the bike ride, which follows a path through the campground. You have to drive around to access this road.
We parked at the barrier, then started hiking on the now decommissioned road.
Main Trail
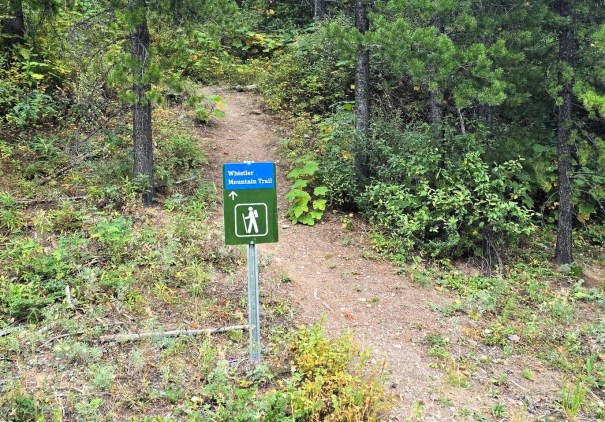
About 400 m up the road, there’s a sign for Whistler Peak. Up we went. We started out on the old road to service the fire lookout, but soon found ourselves on a straight-up trail. Erin and were both coming off various injuries, and I will fully admit to NOT being in my best shape. We both found this challenging, and stopped a few times to lower our heart rate. The views here are stunning, and even the small area with an old forest fire is breathtaking.
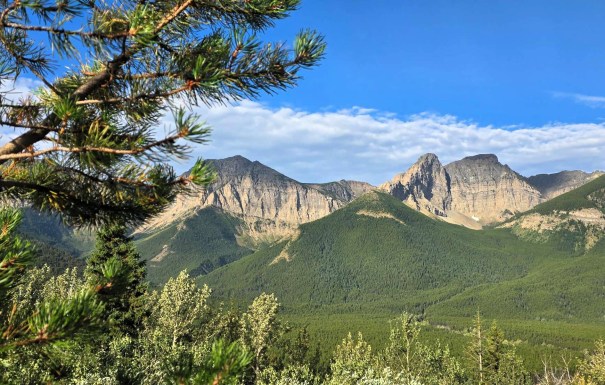
Whistler Fire Lookout
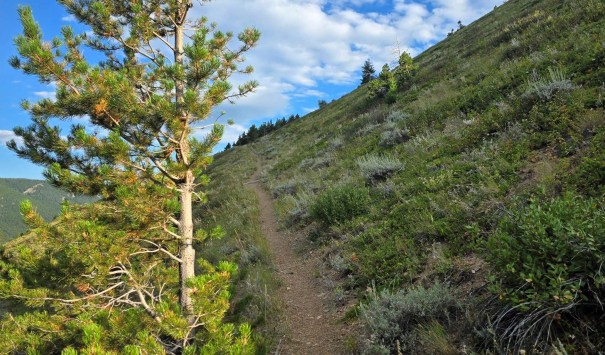
At about 2.7 km, we had a small reprieve to traverse the open slope. Near the top, I realized this was taking us right, towards Whistler Mountain, but the Whistler Fire Lookout was far left. This is not a problem for people doing the Whistler Mountain there and back, as it seems more logical to hit the Fire Lookout on the way back. As we were doing the traverse, it was now or never.
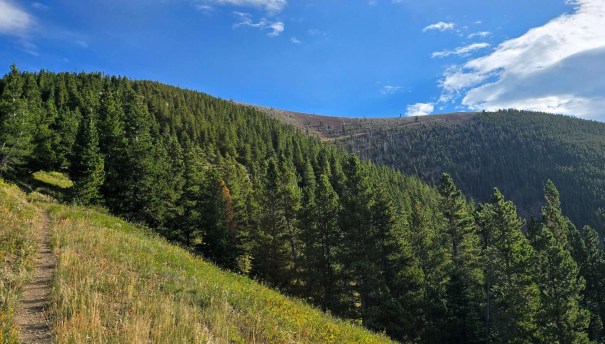
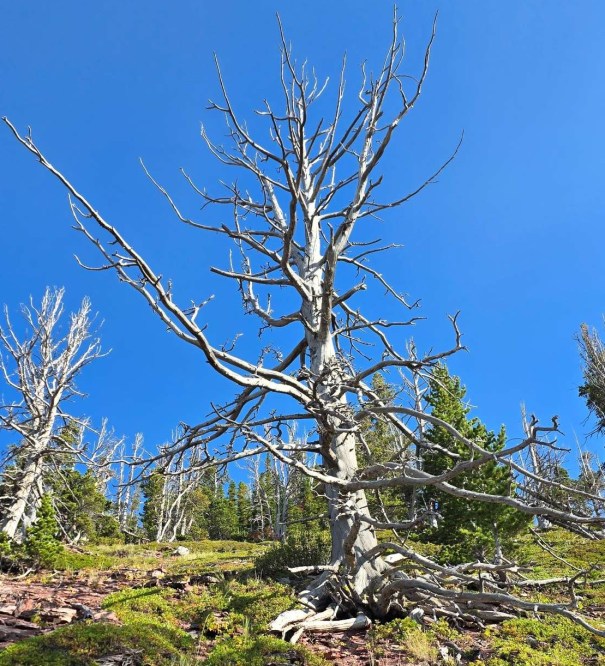
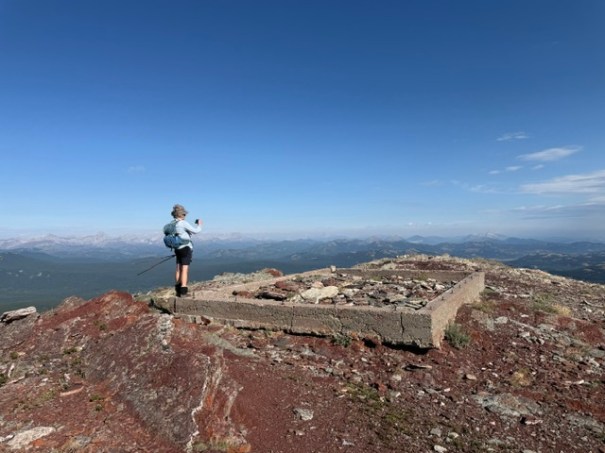
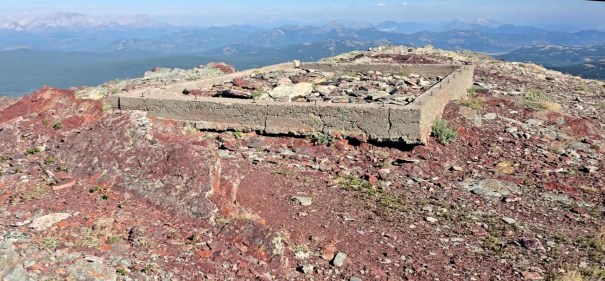
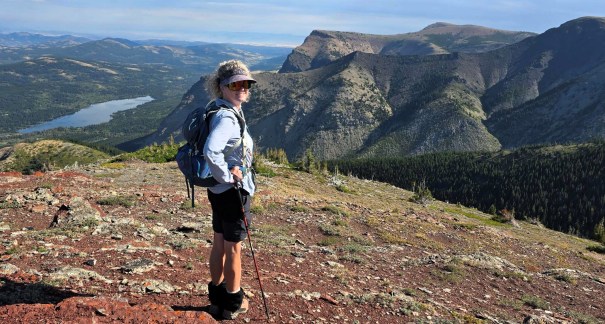
Realizing we needed to go left, I traversed across and picked up the trail leading to the lookout. This trail is delightful! Soft shale was beaten down into sand, with gorgeous rock formations and colours. The Lookout itself is no more, but thee foundation of two buildings still exist. We hiked over to the far north edge to get the views of Table Mountain and Beaver Mines Lake below.
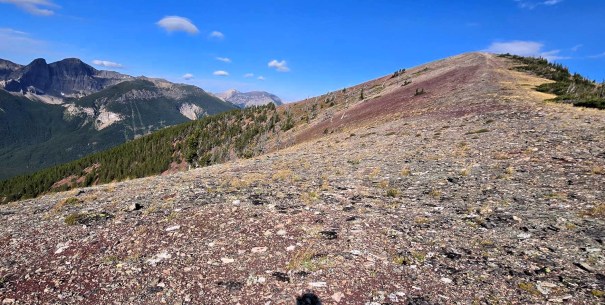
Whistler Mountain Summit
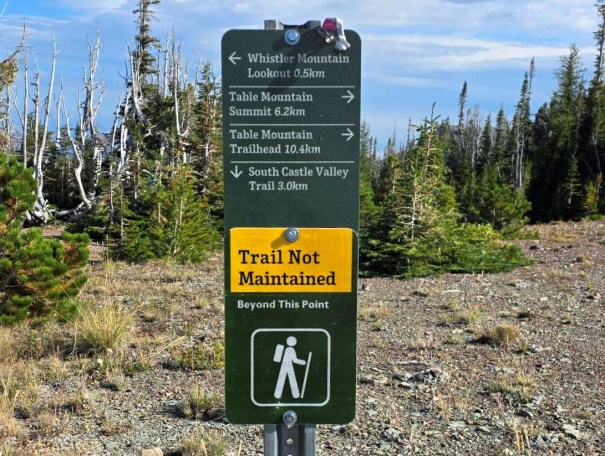
After getting our fill of views, we descended the Lookout trail to the saddle. Here we found the one and only trail sign, indicating that Table Mountain was to the right. Zero mention of Whistler Mountain, or of the many ups and downs to get to Table Mountain. Makes me wonder how many people thought Table was way closer than they thought???
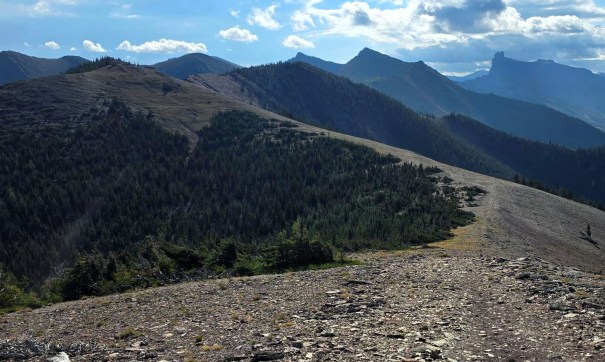
We hiked up to the first prominent bump, then a short down, and up to the next bump. I almost skipped the high point on this one, as the Whistler Summit is marked further east on the map. Good thing I went high, as THIS is where the Pink Summit Register is located.
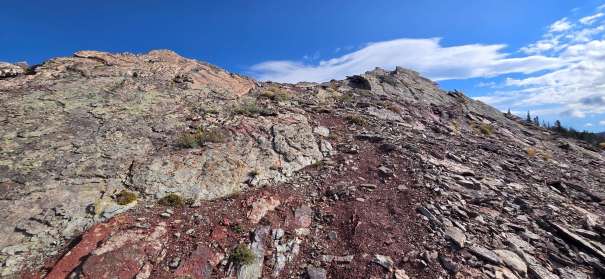
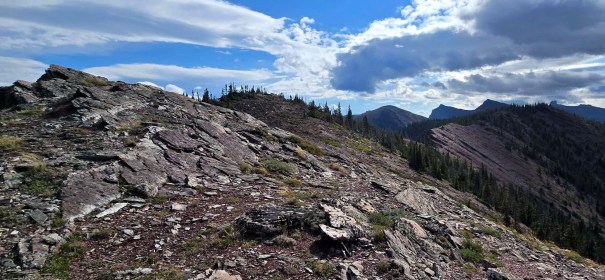
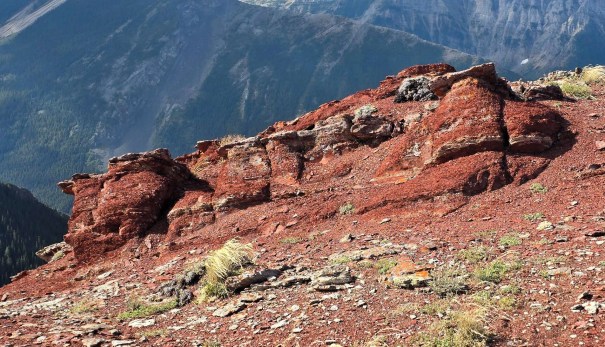
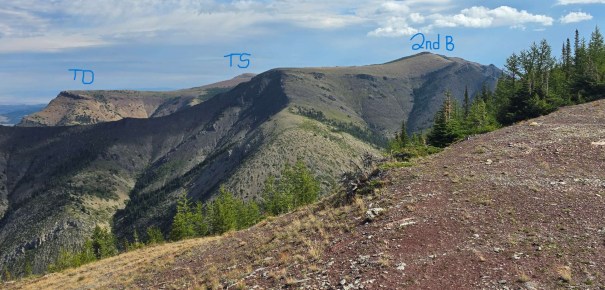
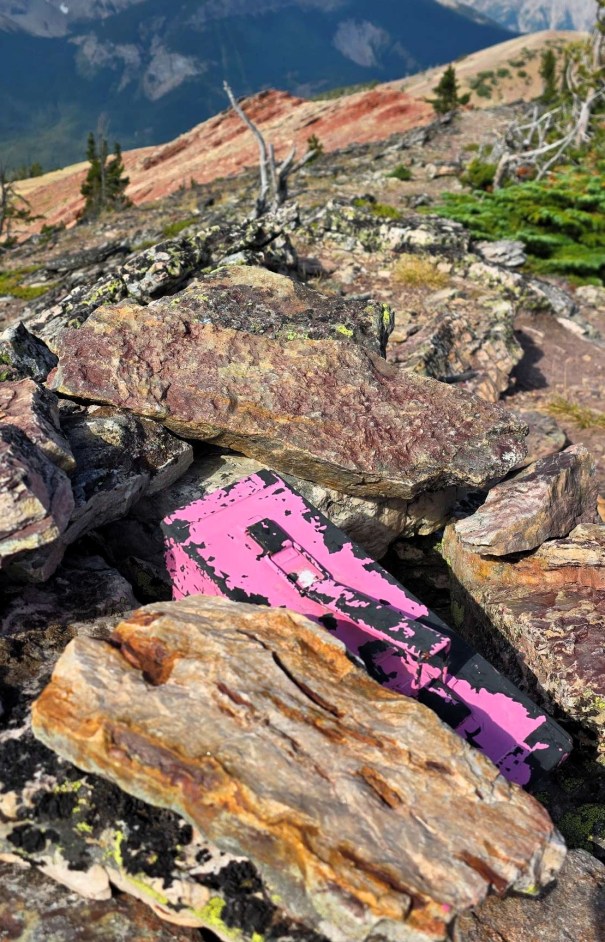
After a short rummage in the box, and entering our names in the register, we descended to the most gorgeous red slope – such a deep colour! At the top of this, hidden in the trees, is the true summit of Whistler Mountain. No views, and no marker, other than the mark on the map.
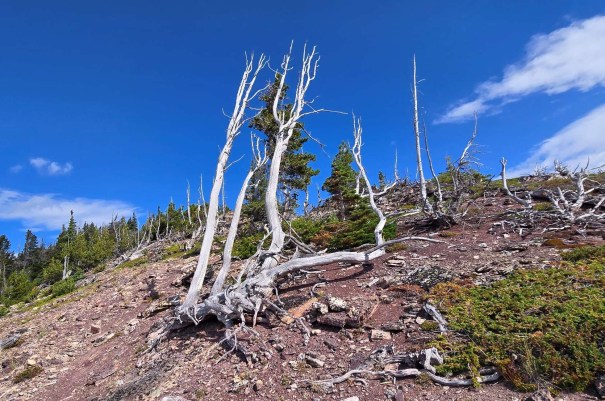
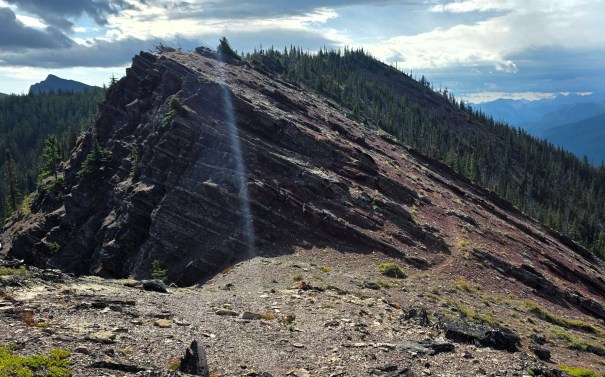
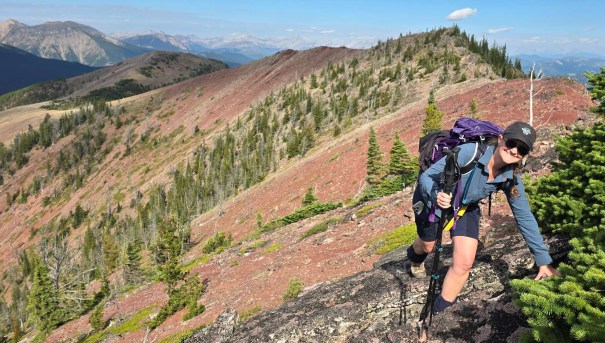
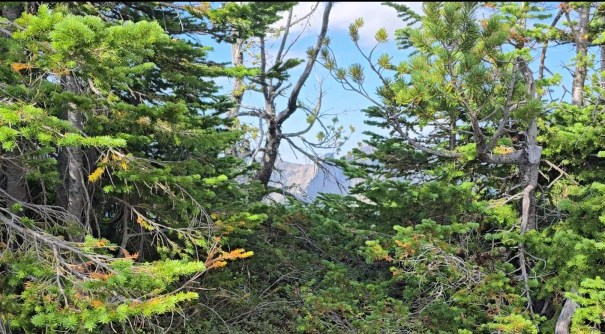
Total distance, including side visit to Fire Lookout was 5.4 km, which took 2 hour, 30 minutes. Elevation gain was approximately 875 m.
Bump 1 of 2 enroute to Table Mountain Plateau
There are now two major ‘bumps’ after Whistler Mountain, with the third bump being the large Table Mountain plateau.
From the summit of Whistler Mountain, we had to hunt around for the descent in the trees. Gaia has the perfect line on their map, and I followed it to get onto the spine of the ridge. It was now straight-forward down to the col.
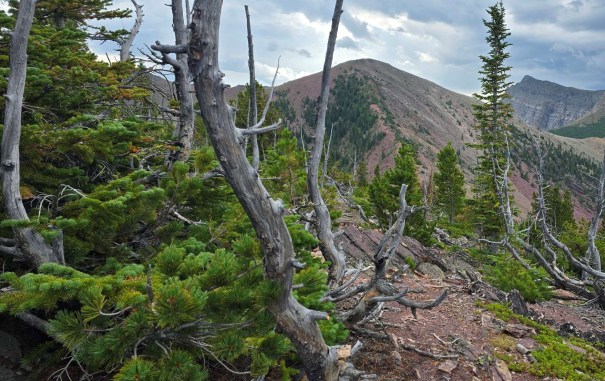
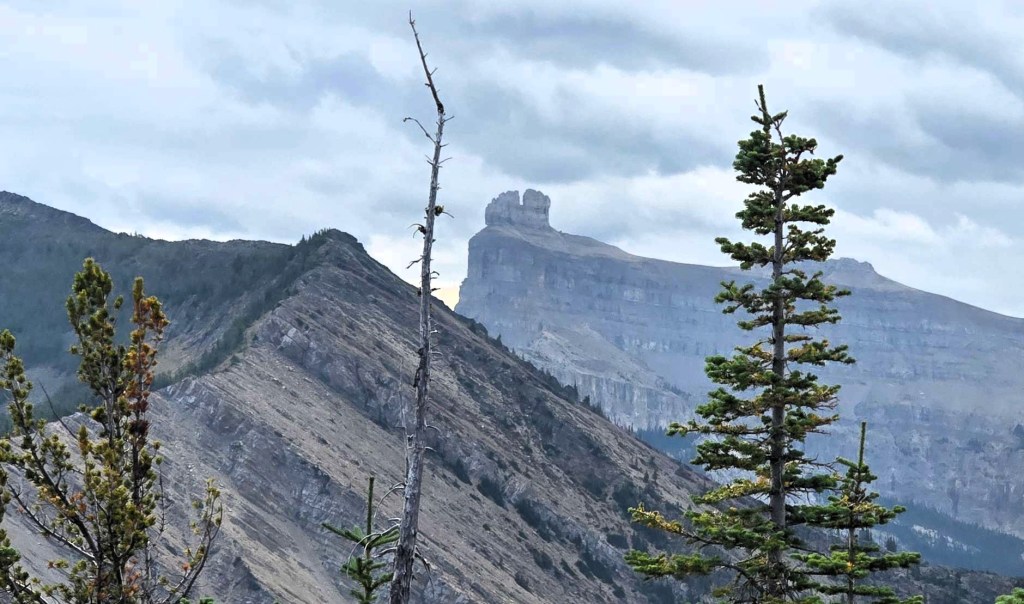
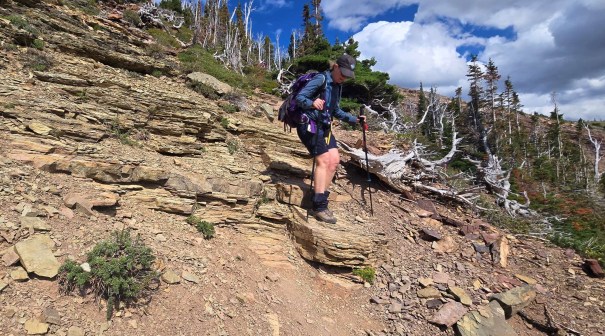
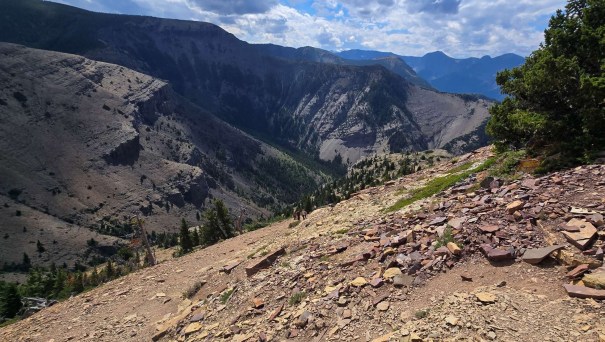
Hiking up to the First Bump felt like a slog in my injured and out of shape body. This is a narrow ridge, with a trail on both sides. However, there are thick patches of dwarf Spruce trees that blocked the way every now again. I was back and forth on either side a few times. The NW side has a nasty drop off on soft red sand. The SE side was rocky, but the winds were up, and it was quite blustery. So, pick your own adventure.
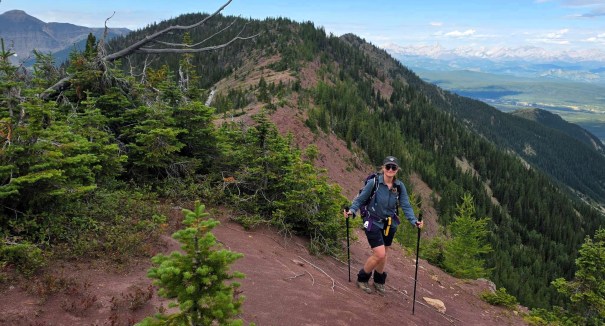
At one point, we stopped for a breather. Just when we were about to continue to the true tippity-top, I spotted a very faint side trail. We decided to follow it, and were rewarded with an awesome trail that skipped a few smaller bumps along the way. With the rain threatening and high winds, this was ideal as we could travel faster and not be blown over.
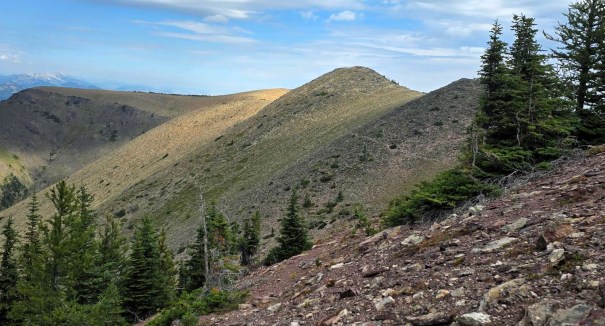
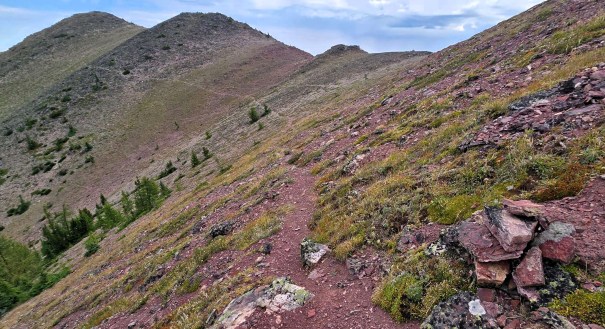
Each curve magically presented more side trail. Even more awesome were the changing rock colours. This slope has red, green and beige rock.
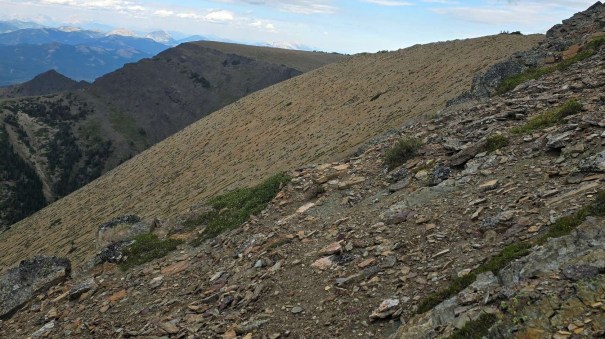
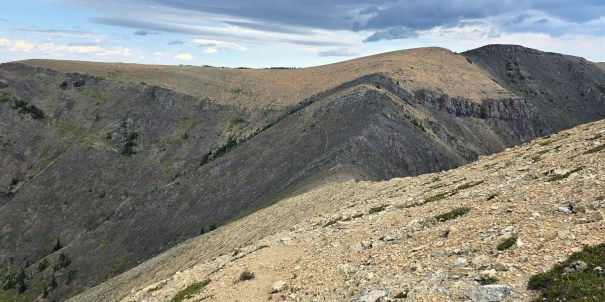
At the col between Bumps 1 and 2, we stopped for a quick lunch. The views on the east side were amazing. The sky was pretty stormy, and we did get some rain drops, but didn’t get wet. From here, we surveyed the route to Bump #2.
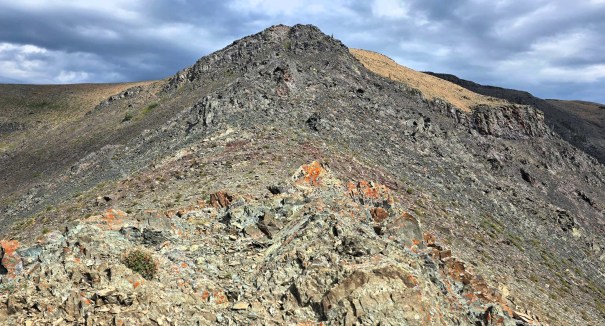
Bump 2 of 2 enroute to Table Mountain Plateau
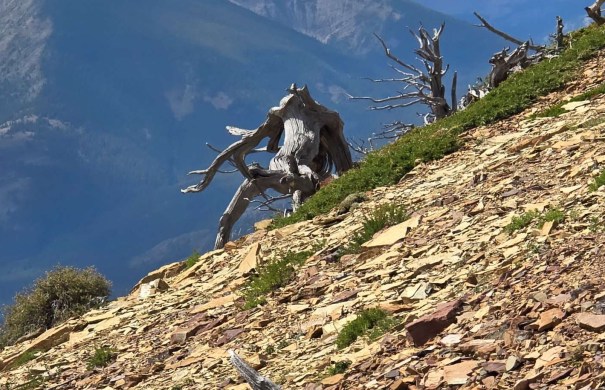
At the black rock band half way up the second bump, and the trail wraps around to the left, and then switchbacks to the right. From here, there are a few small rock outcrops, then a grassy slope to the top. On the way, the view to the east was incredible, with some large gargoyles just below the top of the 2nd Bump.
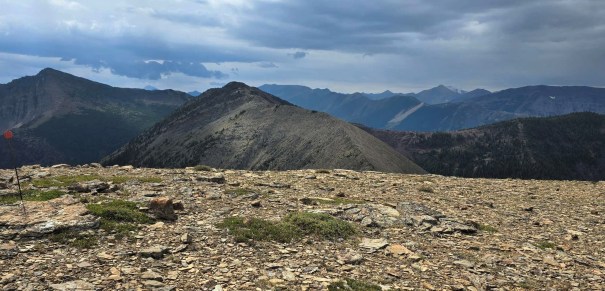
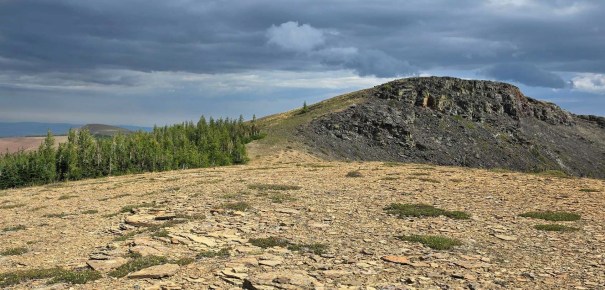
Bump 2 to Table Mountain Plateau
Once on top of Bump #2, we got our first real look at Table Mountain, and found another wide gulf that we had to traverse. Honestly, from up here, the way was not obvious. Wide and fairly flat descents are the hardest to navigate, as there are many options, and not one clear point to aim for. Going up is easier, as you can usually pinpoint the top. I relied on my excellent route in Gaia to get me to the start of the descent trail along the line of trees. There were several possible options, but I am glad I stuck to my map.
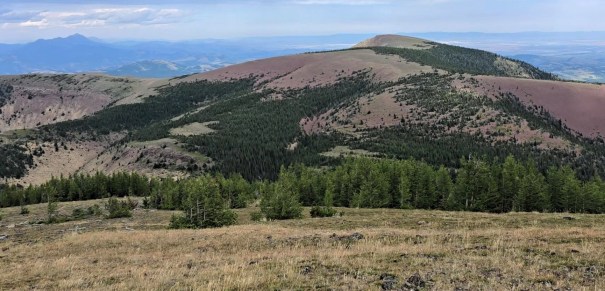
Once I found the route in the trees, it turned into a very steep downhill on a very obvious trail. All good, for now.
Once the terrain started to flatten out again, I ran into two issues. While keeping a very sharp eye on obvious trail markers (like a line of rocks to go left, and a tree branch to go right), I found myself in a widely spaced clearing with no discernable trail. I followed what seemed to be the continuation of the trail. NOT! I checked my map, and found that others also got off route here, so it wasn’t just me. I made a hasty trek east, and soon found the trail again.
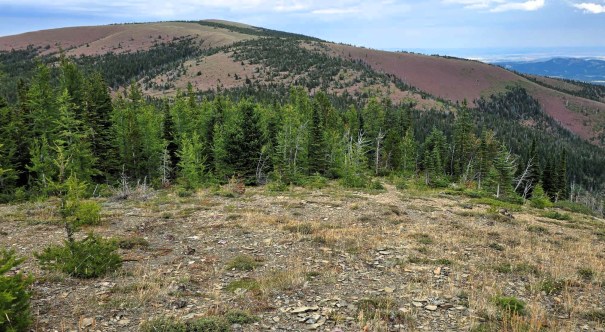
Shortly after, we found ourselves in Flat Forest Purgatory. Again, a widely spaced forest, no discernable trail, and no difinitive point to aim for. Not getting fooled again, I pulled out my map and got orientated. I love route finding, but when any direction looks good, I will gladly take some help. Once in the right direction, we found flagging, and were soon making our way up to the Table Mountain Plateau.
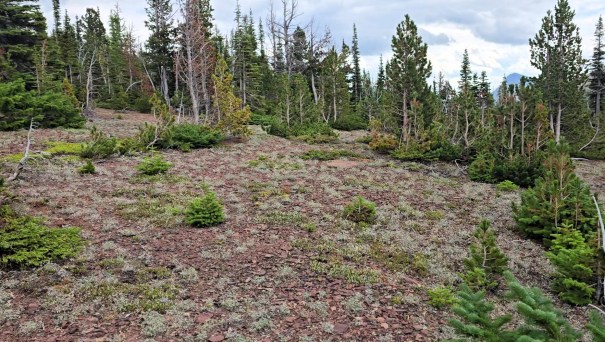
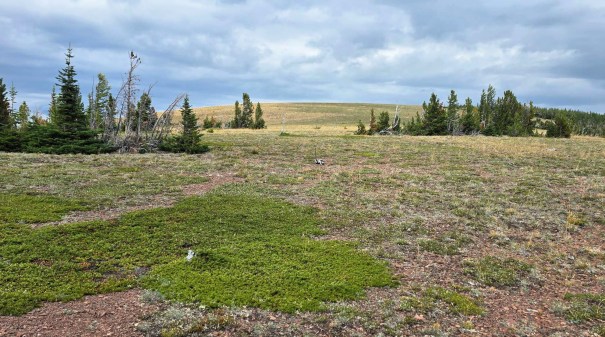
Table Mountain Plateau to Trail Head
As we reached the plateau, we could see the dozens of hikers on Table Mountain. After 10 km of perfect solitude, the loudness and multitudes were a bit jarring. We discussed doing the traverse ‘proper’ and nabbing Table Mountain. As Erin and I had just summited Table Mountain, we decided it wasn’t epic enough to do it again. Instead, we headed west towards the hiking trail that took us back down to the trail head near Beaver Mines Lakes.
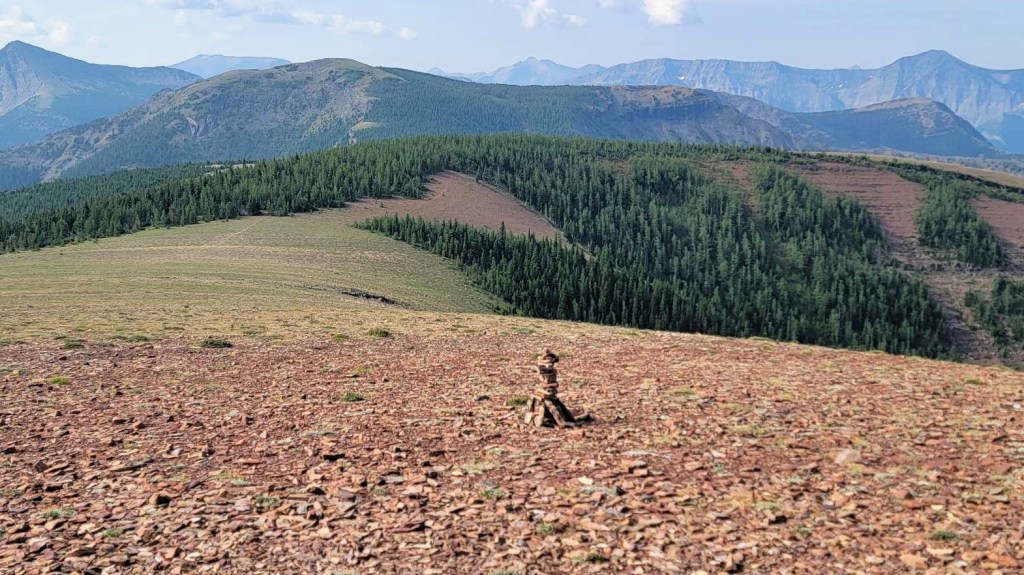
As we hiked down the Table Mountain trail, we passed an obvious scree slope that people are now using. It looked awful, as far as a good screen descent goes, and decided to take the main trail. As we neared the base of the scree slope, two hikers were coming down above us. Despite a wide-open slope, they elected to travel right above us, and sent rocks down our way. I yelled at them to move over or to stop moving until we were out of the shooting gallery. The premise is that the downhill hiker has the right of way.
The female hiker moved over, but the male hiker yelled that “this was the fastest route.” I went from being pleasant to irate – “I don’t care if it’s faster for you. You don’t throw rocks down on others!” To accentuate my point, some rocks then fell between me and Erin.
Back at the trail head, the little parking lot was now super full. We went into the bushes, and magically appeared with two awesome bikes. We rode to the boat launch, and changed into bike shorts, and had a bite to eat.
Total Hiking distance was 15.9 km, with a total elevation gain of 1,296 metres. If I’d have known I was going to be a measly 4 m short of 1,300, I would have hiked a tad bit higher on Table Mountain. Total time was 6 hours, 37 minutes including lunch, side trip to the Fire Lookout, and chewing out poorly mannered hikers 🙂
Bike Ride to Whistler Peak Trail Head
We rode the short distance from the trail head to the boat launch. We planned a quick dip in the lake to cool off, but unfortunately we had clouds and wind all day, and a major storm was brewing. With ominous dark clouds, so decided to forgo the dip and ride out. We took a short-cut through the campgrounds, which cut off about 4 km of riding. This trail was newly gravelled, which would be lovely to walk on, but made riding down a bit wobbly. Once through the campground, we went left at the small gates, and rode down the main road. The fresh gravel was a bit tricky on the bikes, but could be avoided by staying far left or right. Be aware of the many vehicles driving up and down this road.
Total bike ride was 7.64 km, with 83 m elevation gain. This now put me solidly over 1,300 m, so I was very happy with that. Total time was 34 minutes.
Wrap Up
The Whistler Mountain to Table Mountain traverse is a fun, interesting and very colourful route. It is rarely travelled, and is a bit of solitude in an otherwise busy mountain area. The trek down Table Mountain was quite busy, but that is to be expected for such a popular route. I highly recommend this route for anyone who likes longer days, and a wee bit of route finding.
Thanks for reading! You can follow my blog, join my FaceBook page Al’s Adventurers, or follow me on Instagram
Alisen

I love all things mountains! I live next door to the Canadian Rocky Mountains, however I travel the world to enjoy the many different mountain environments and cultures that I can. I hope you enjoy these trip reports, and that it inspires you to accomplish your own adventure goals.


awesome
▪️◾◼️⬛◼️◾▪️▫️◽◻️⬜◻️◽▫️▪️◾◼️⬛◼️◾▪️
Loved the dude creeping down the hill!!! Totally believable and creepy. Imagine seeing that at dusk!!
Looks like you had beautiful weather to enjoy the mountain scenery and colourful landscape. Seems a bit inconsiderate and unnecessary of people to use that scree slope near the Table Mountain trail. Just because it’s faster doesn’t mean it’s safe or that they should go off trail. Good for you for saying something.
A full day spent in the alpine with views like that? Sign me up! This sounds like such a fun challenge, and I love how colorful it is. Sorry to hear about your summer of injuries and car troubles – hopefully you and your car are now on the mend.